 This previous weekend was Winter Field Day. While this event is billed as an emergency preparedness exercise, it’s also simply a fun opportunity to get on the air from a portable location, and make the most of limited resources.
As happened with ARRL Field Day this past June, the event was affected by COVID-19. Since the pandemic generally prevents operation as a group, many who would have otherwise participated stayed home. But in my opinion, being part of a group is not what defines this event. The event is not called “Group Day,” it is called “Field Day.” The focus is operating from out in the field somewhere. And while groups of people can be dangerous because of COVID, there is absolutely nothing that is unsafe about a field. I was completely socially distanced during the entire event. I saw a few other campers and said hello to some of them from 50 feet away. As I’ve previously written, camping is an excellent safe way to travel during the pandemic.
As an emergency preparedness exercise, it seems to me that it was best to adapt to the actual emergency conditions. Because of COVID, it wasn’t possible to do it as a group. But in many emergency situations, a group of helpers might not be available to set up a station and get it on the air. It seems to me that the ability to get a station on the air, even a minimalist station, without outside assistance, is a valuable skill in an emergency.
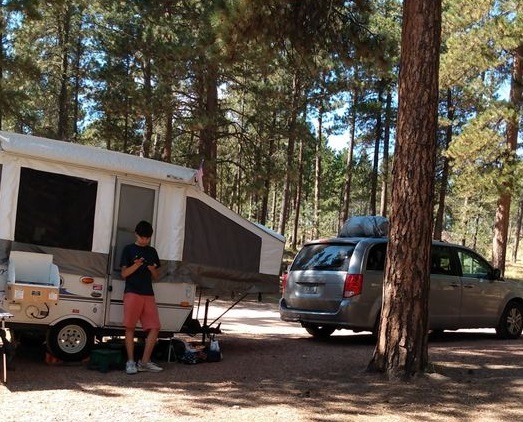
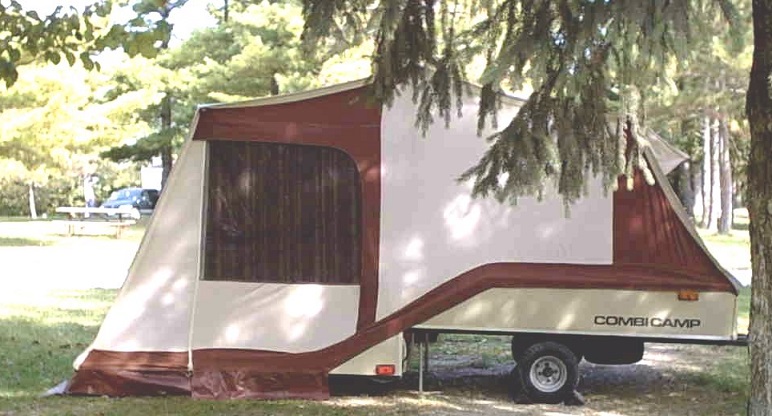
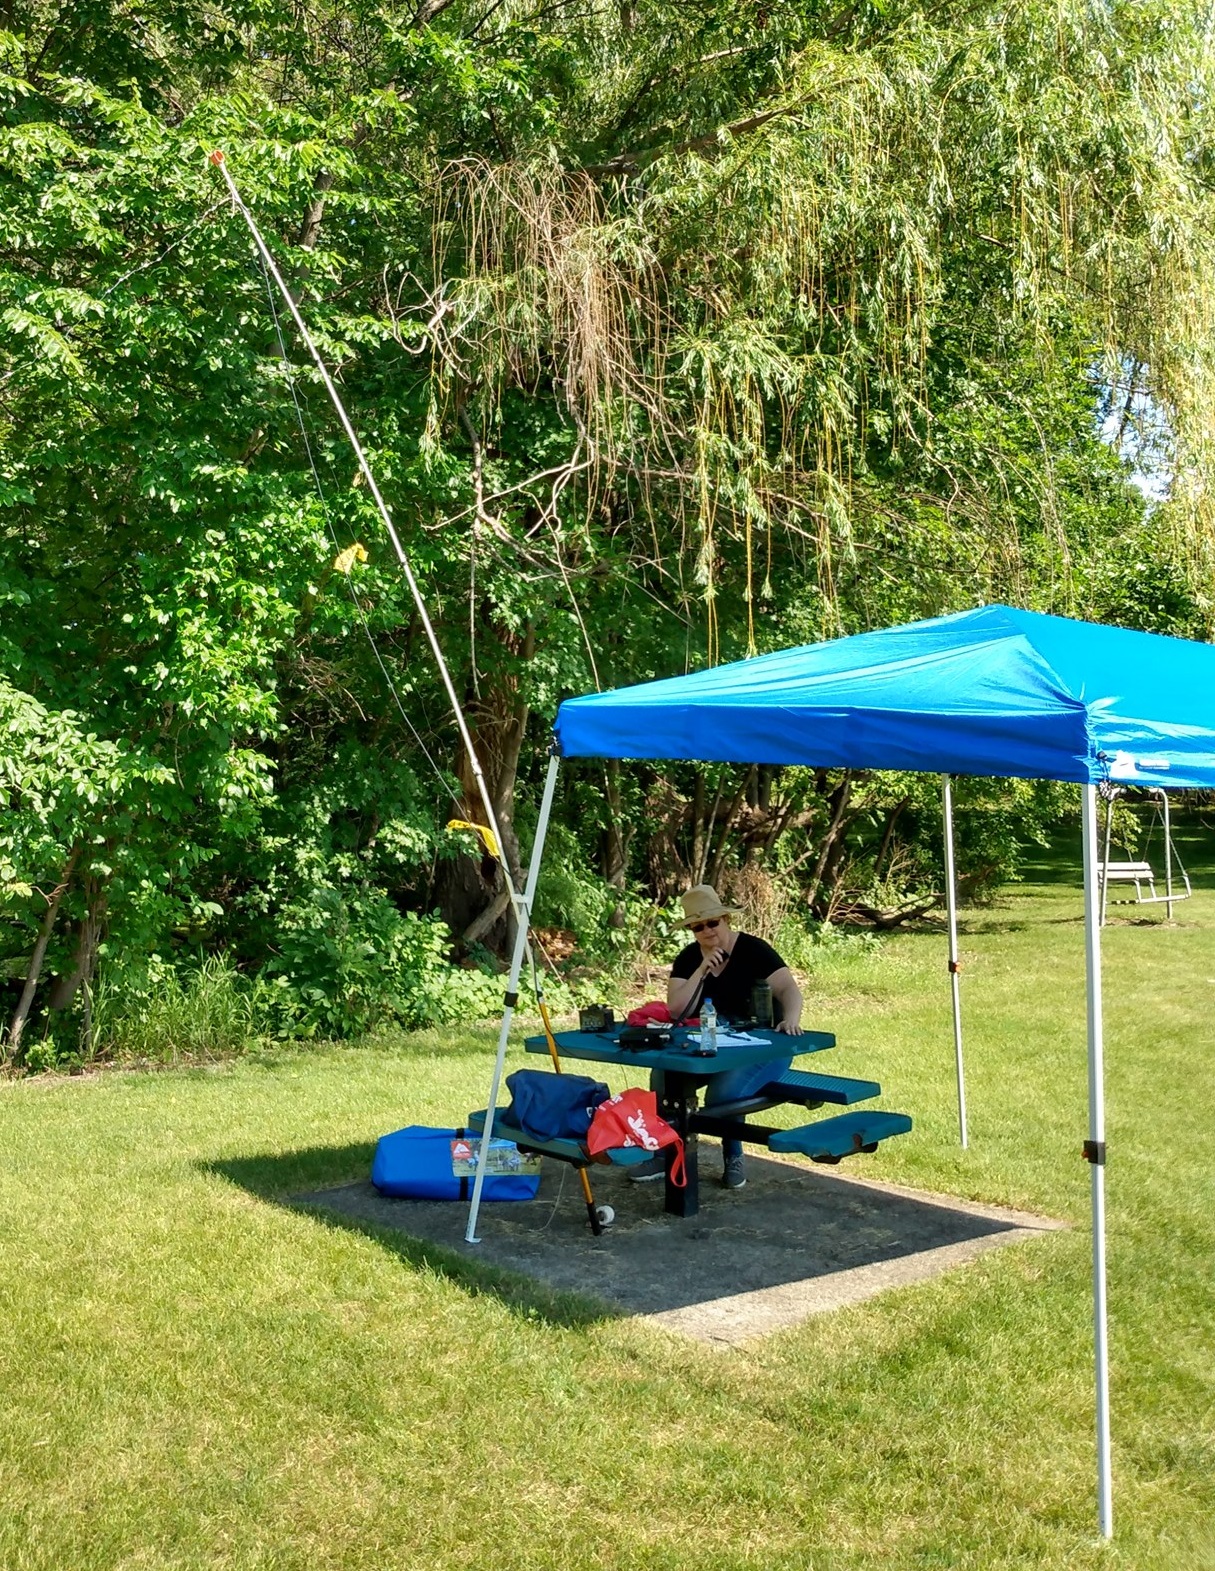 For summer Field Day, my wife and I operated for an hour or two from a city park, shown here. If it weren’t for all of the naysayers lamenting that they had to stay home for Winter Field Day, I probably would have done something similar and just operated for a while from the back yard, or maybe again from a city park. But since so many people were lamenting that it was impossible to truly go out and operate away from home, I decided to do a winter camping trip in our popup camper.
I made reservations for William O’Brien State Park, which is only a 45 minute drive from home. The temperature never got below 20 degrees, and it was actually a very nice weekend for camping. There were several other campers in the campground. I spotted three RV’s, as well as three family groups camping in tents. Also, I believe at least one of the park’s cabins was occupied. So at least a few non-hams were undaunted by being in the field in the middle of winter, in the middle of a pandemic.
Even though it’s not insulated, the popup camper stays quite warm inside with electric heaters and/or the furnace running. Since I was paying for the electricity anyway, I used two electric space heaters. One was plugged into the outlet in the camper, which was hooked up to the campground’s 30 amp circuit. The other heater was plugged into a separate extension cord going to the campground’s 20 amp circuit. Therefore, if needed, I could run both heaters full blast. When I needed the electricity for cooking, I temporarily unplugged one of the heaters. There was a light dusting of snow Sunday morning, but the camper’s canvas was bone dry by the time I folded it up.
 I didn’t set out to make hundreds of contacts. In fact, after making the first one, which happened to be with Rhode Island, I felt like I had proved the concept. But I was on the air for a total of about three hours out of the 24 hours of the contest, and made 27 contacts with 14 states.
Only eight of those contacts were with other portable stations. Six were outdoors, and two were indoors but at temporary locations. I’m grateful for the other 19, who were operating at their home stations, since they gave me someone to make contacts with. But I feel a little sorry for them that they didn’t figure out some way to operate in an actual field for Field Day, even though they couldn’t do it as part of a group. Also, I was a little bit mystified to hear home stations working other home stations, while calling it Field Day. For previous Field Days when I’ve stayed home, I’ve often made some contacts, but since it’s Field Day, I’ve made a point to seek out stations who were actually in a field. There are contests almost every weekend that are geared up for home stations to work other home stations. I guess I don’t see the point of ignoring those opportunities, and then getting on only for a weekend called Field Day. Again, I was grateful that I had stations to work, but I really didn’t get the point of home stations spending the whole weekend working other home stations.
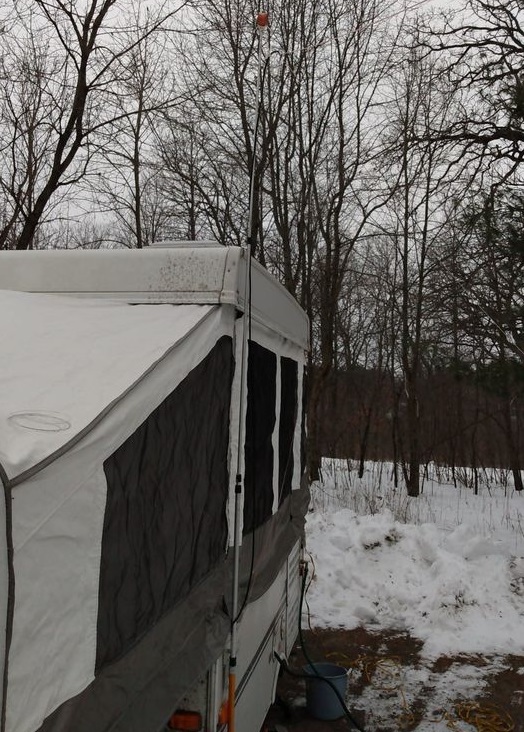
My original plan was to use dipoles for 20 and 40 meters, along with a quarter wave wire for 80 meters. The 80 meter wire was a bust, and didn’t really get out, due undoubtedly to its very low height and lack of much of a ground system. But the dipole for 20 meters did a great job, and I made all of my contacts on that band. You can see (just barely) that antenna at left. It’s held up at the center, inverted-vee style, with my telescoping golf ball retriever, and the ends are tied loosely to some bushes that happened to be at about the right spot. I was running low on wire before the contest, so I ordered a roll of speaker wire that did the job. I cut it to the proper length of about 16-1/2 feet, and then unzipped it when it was in place. I thought I had forgotten to bring a tape measure (it turns out there was one in the toolbox), but I used a six-inch ruler to measure the table, and then used the table to measure the wire.
My original plan was to put up a 40 meter antenna as well, but when 20 meters closed in the early evening, I decided to simply call it a night, and made a few more contacts Sunday morning. As with most of my NPOTA activations, I operated mostly CW, but also made a few SSB contacts. I also made one PSK-31 contact using my tablet computer and the DroidPSK app.
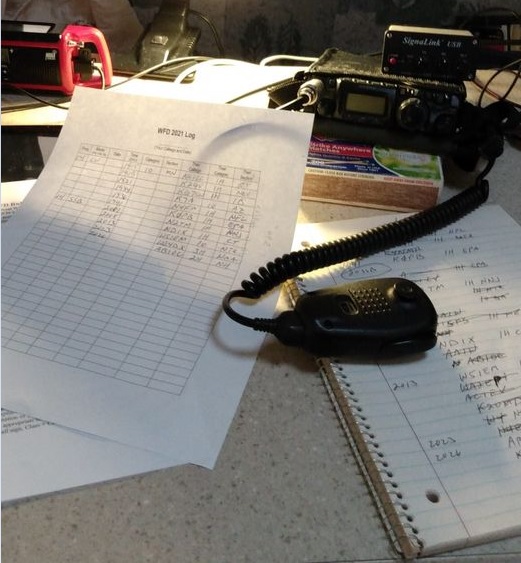
My station consisted of my Yaesu FT-817 powered by a fish-finder battery, which still had plenty of charge left at the end of the contest. The one digital contact was made possible with the Signalink USB interface, which performed flawlessly with the inexpensive RCA tablet computer. For some reason, the tablet’s keyboard didn’t work very well with the DroidPSK software, so I had to use the touchscreen, which seemed like a rather laborious process to me. I probably could have made the process much easier by setting up some macros in advance. But for the first time using it, I was glad that I was able to make my first ever portable digital contact.
As you can see in the picture above, I needed something to prop up the radio on the table, and a box of matches did a perfect job with this important task.
Am I going to save any lives with my ability to operate a portable station? Almost certainly not. On the other hand, if there is ever an emergency, large or small, that makes other forms of communication impossible, I know that I am able to send messages to friends and relatives in other states. I can do it formally by checking in to a National Traffic System net, or I can do it informally simply by working someone and asking them to make a phone call or send an e-mail for me. I can also do that for neighbors who want to let their friends in other states know that they’re safe. I’m also well equipped to receive information from the outside world simply by knowing that I can power up a broadcast receiver to listen to either local or distant stations. It’s unlikely that I’ll ever have a need, but it’s good to know that I have the ability.
The point of exercises like Field Day is to show that hams can adapt to emergency situations and still be able to communicate. COVID has shown us that there are some emergencies where you are cut off from the group that normally helps you establish communications. Can you adapt and still communicate if you are cut off from both this group and your normal station setup? Field Day and Winter Field Day during COVID gave me the opportunity to show that I can.
Here’s a short video tour of my setup:
Some links on this page are affiliate links, meaning that this site earns a small commission if you make a purchase after clicking on the link.