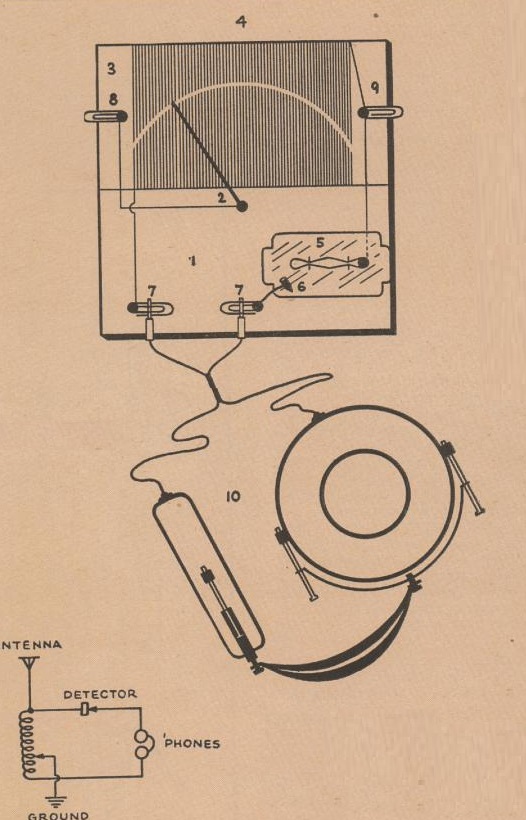
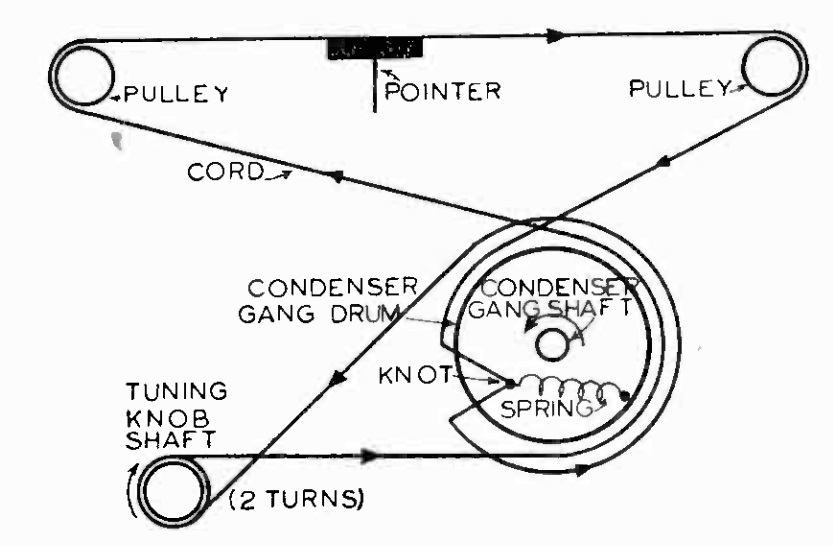
 Even for the electronic genius who is repairing or restoring an old radio, stringing the dial cord is often a vexing problem. It’s a deceptively simple mechanism–you turn the tuning knob, and a string turns the tuning capacitor, and also moves a pointer along the dial. But the devil is in the details–it has to be set up so that a full 180 degree rotation of the variable capacitor results in the dial pointer moving the full length of the dial. Invariably, if you’re not careful, things don’t sync up.
An article in the February-March 1946 issue of National Radio News serves as a good primer on how to do it. The author notes that there are so many variations that even a much longer article wouldn’t cover them all. Fortunately, in most cases, the technician could write to the manufacturer and get a diagram. These days, the dial stringing diagram is often available at the same online sources that carry the schematic diagrams.
If the diagram was not available, the first step was to make a sketch. If the old cord was still in place, the first order of business would be to make an accurate diagram of exactly how it was hooked up.
If the dial cord was already broken or missing, then the first step was to try to figure it out and still draw a diagram. In this case, the diagram would serve two purposes. If the original guess was correct, then it would serve as a guide to do the job. But if it didn’t work, it would document one possibility that didn’t work, thus helping with the process of elimination.
The article cautioned that normal string could not be used for a replacement cord, since it tended to stretch. Instead, the magazine suggested silk or nylon fish cord as one possibility.
Overall, the article serves as a good introduction to the subject, and if you’re faced with this daunting task, I recommend giving it a read before trying to tackle the job.
 Happy Valentine’s Day from OneTubeRadio.com!
