A Powerful Technique To Walk Up To Strangers and Talk to Them
Did you ever want to introduce yourself to a stranger, but had no logical reason to approach them? Whether it’s expanding your professional network, introducing yourself to a potential dating partner, or just talking to interesting people, here’s an easy method to make them eager to talk to you. In addition, it provides an easy method to ask for their name and contact information, such as their e-mail address, phone number, or address. What I am about to describe is a powerful networking tool, and I’m shocked that I haven’t seen the idea anywhere else.
Unless it’s some kind of confrontation, most people are willing and even eager to talk to reporters. And the same principle applies if you are a “writer.” Even if you don’t work for a recognized news agency, there’s nothing stopping you from becoming a freelance writer.
There is nothing dishonest about this, as long as you’re honest in how you represent yourself. Of course, if you say that you are a newspaper reporter, and you’re not really employed by any newspaper, then this method will backfire. But if you say that you are a freelance writer, then there is absolutely nothing wrong with using this technique, as long as you have taken the basic preliminary steps to make yourself a freelance writer, (Similar techniques also apply if you are a podcaster or YouTuber.)
How To Make Yourself a Writer
The only prerequisite for being a writer is knowing how to write. Since you’re able to read this, presumably you also know how to write. You can start actually writing things at any time.
On the other hand, you might feel reluctant to say “I am a writer” unless you’ve actually sold or published something. Strictly speaking, you don’t need to be a published writer in order to truthfully say that you are a writer. You don’t become a writer when you sell or publish something: You become a writer the moment you sit down with a pen or keyboard. But it’s understandable if you want to be a paid and/or published writer before you start declaring in public that you are a writer. Fortunately, this is very easy, It might be difficult to make a lot of money by writing, but it is extremely easy to make some money, and you can start doing this today. And thanks to the Internet, it’s also very easy to become a published writer. You can become a paid and/or published writer today. So if it’s important to you to be paid or published before you introduce yourself as a writer, this is not a difficult burden to overcome,
How to Become a Paid Writer Today
There are probably other alternatives, but I’m aware of two possible ways to get someone to pay you for writing, and get the money today. I have more information about both of these on my How To Make Money On The Internet page.
The fastest way to make money by writing is with Amazon Mechanical Turk, which is a marketplace where workers (including writers) can do small online jobs and be paid almost immediately. When I did a review of that site, I spent about an hour and a half doing small jobs and earned a whopping $3.48 per hour. While preparing for that review, I did only one writing assignment (because for purposes of my review, I wanted to show more variety), but that one writing assignment took about 15 minutes and paid $2.50. So after 15 minutes, I could truthfully describe myself as a freelance writer, since I had been paid for writing.
Another option for turning yourself into a paid writer today is iwriter.com. This is a website where content providers (usually websites) can get short articles written at low cost. A typical pay rate is $2.43 for a 500 word article. As I explain on my How To Make Money On The Internet page, the process for getting started is quite simple, and you can become a paid writer today.
How to Become a Published Writer Today
There are probably other options available, but by using either of those websites, you can become a paid writer today. So if you feel reluctant to walk up to someone and say that you’re a writer unless someone has paid you to write, then getting paid by one of those sites will ease your conscience.
Of course, writing for either of those websites won’t really bestow upon you the status of published writer. Even though your work will probably be published somewhere, it won’t have your name attached, since the author of such articles is anonymous. (And this is a good thing, since you probably don’t want your name associated with a 500-word article that you dashed off in a few minutes on a subject about which you probably knew very little.)
Fortunately, with the Internet, it’s very easy to become a published writer. All you need to do is start your own blog or website. The exact process for starting a blog or website is outside the scope of this article, but it’s a very easy process. You can start a blog at no cost using blogger.com. In the long run, I would recommend starting with a paid service, but this is not absolutely necessary. If you do decide to have your website or blog hosted with a paid service, then you can expect to pay around $100 per year. I recommend using my hosting service justhost.com, but there are many other good providers.
 If you don’t want to start your own blog or website, another alternative is to publish articles on LinkedIn.
Whichever of these methods you use, as soon as you publish your first online article, you can in good conscience refer to yourself as a writer,
Using Your Status as Writer to Introduce Yourself
 Now that you are a writer, you now have a powerful tool to introduce yourself to strangers and strike up a conversation. You simply walk up to them (or call them or e-mail them) and say something like:
“Hi. My name is ______. I’m a writer, and I’m working on an article about ____. Would you mind if I asked you a few questions about _____?”
Chances are, they will say yes to this request. Of course, you need to fill in the blanks before you approach them, but this is actually quite easy.
The first blank is easy enough. You need to tell them your name. If you have a blog or website, then you can also identify it at this time. If a New York TImes reporter wants to ask you a question, then they will identify themselves as being a reporter with the New York Times. And if I want to introduce myself, I identify myself as a blogger with OneTubeRadio.com. As discussed below, this might also be a good time to give them your business card.
The second and third blanks require a bit more thought, but they are also quite easy to fill in. You’re the writer, so you can write about anything you want. Depending upon the context of where you are, you can chose an article.
For example, let’s say that you are on a train traveling to some destination. You are going to that destination, and so is the person you want to meet. So you can write your article about that destination. You can ask them why they are going to that destination, whether they have been there before, and countless other questions. Here, you would say, “I’m writing an article about __________, and I’d like to ask some questions about why people are going there.”
For another example, let’s say that you are in a busy airport waiting for your connecting flight. Everyone has pet peeves about certain airports, and you can ask about these. Here, you could say something like, “I’m writing an article about O’Hare, and I would like to ask some questions about passengers’ experiences here.”
You can always ask questions about people’s reactions to the place or event where you happen to be. If you’re leaving a concert and want to talk to another member of the audience, then you can ask, “I’m writing an article about this band and would like to ask some questions of some of their fans.” You can use this technique anywhere. If you’re on the street, you can approach a person and say, “I’m writing an article about the condition of the sidewalks, and I’d like to ask some questions about whether people think they are in need of repairs.” If you’re at the mall, you can approach people and say, “I’m writing an article about this mall, and I’d like to ask some questions about what people think are the best and the worst features.” If you want to meet someone on the bus, you can ask about their experiences with public transit.
How To Conduct Your Interview
Before you approach the person, you need to come up with the subject of your article, and you need to think of some interview questions to ask. You might not use them all, and you might think of other questions when you actually start talking with them. But having a few questions written down will help guide you and prevent any awkward lulls in the conversation.
The beautiful thing about this technique is that you have license to ask some personal questions. You need to use common sense, but a lot of factors will be relevant when you write your article. If you’re talking to someone who is traveling, then it’s relevant to ask them whether they’re traveling for business or for pleasure. If they’re traveling for business, then you can follow up by asking about their job. If they say that it’s personal travel, then you can follow up with personal questions. After all, single travelers will have different priorities than families, so it’s logical to ask their marital status. You can probably ask them how old they are. You can ask them where they work or where they go to school.
Asking for Their Contact Information
And you can ask them for their name and contact information! As you’re talking with them, you can jot down some quotes. They don’t need to be profound observations. Look at newspaper articles, and you will see that there are often quotes from people about rather mundane things. Therefore, after you get one or more quotes you might use, it is perfectly normal to ask the person whether you have permission to quote them in your article or blog post. If they say yes, then the next logical question is to ask their name. And it’s expected that a reporter will write down the name, and even confirm the correct spelling.
After they have given their name, you can then logically ask for their contact information. You can tell them that you might want to follow up with them to verify a quote, or that you might think of some follow up questions. You can then ask for their address, e-mail address, or phone number.
Some people might prefer that they not be quoted in your article, but this should not stop you from asking for their contact information. You can still tell them that you might like to contact them with follow-up questions. And you can also offer to send them a copy of your article, either before or after it is published. Most people will be happy to give you their information. You’ve already made them feel important by making them an expert. And they’ll be even more of an expert by being your potential future source for more information about the topic.
The Tools That Add Credibility


 You really need nothing tangible to use this networking technique. You became a writer the moment you decided to become one, and the moment you began your first information-gathering interview. Having a blog or website of your own is helpful, since it gives you instant credibility. However, as noted above, this is not absolutely necessary.
Another tool that adds credibility is a business card. If you have a business card for your regular job, you can use that. But since you are now a “freelance writer” or “blogger,” it’s probably worthwhile to have some business cards printed with that job title. You can order inexpensive business cards many places, including Amazon, and these might be a good investment for all of the networking opportunities they will provide. For an even smaller investment, you can simply order some blank business cards and print them on your own printer.
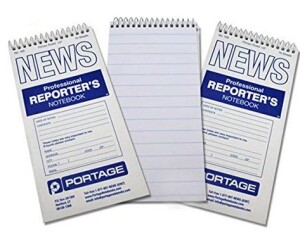
But the other tool that will give you instant credibility as a writer is a reporter’s notebook such as the one shown here. Virtually all newspaper reporters use a notebook identical to this one. In many cases, a reporter employed by a newspaper will have a customized version with the newspaper’s name printed on the cover. But in many cases, they’ll just use a generic one such as the one shown here. There are other brands available, but this one, in my opinion, is the best, since the cover prominently contains the word “NEWS,” and even identifies the notebook as being that of a “professional reporter.” And you can buy them on Amazon at this link.
Having the notebook in your hand is not an absolute necessity, although you will need something with which you can take notes. It would be possible, for example, to use a smartphone to record the interview, but I would advise against this. Everyone has a smartphone, and pulling yours out and recording could be seen (correctly, perhaps) as a mere ploy to talk to a stranger. But the reporter’s notebook is an item that people would rarely carry with them unless they were really professional writers. As such, it adds immensely to your credibility and will put your interviewee at ease regarding your intentions.

 If there’s any doubt about whether you’re really a writer, as opposed to some nosy person who just wants to ask personal questions, then having this notebook in your hand will put those concerns to rest. Of course, make sure that you have one or more pens or pencils with you. You can’t really pass yourself off as a writer if you don’t have anything with which to write.
How to Follow Up With Your New Contact
Since your purpose in becoming a writer was to add to your personal network, you have been successful, and you now have the person’s name and contact information, and they know who you are. Before contacting them for other purposes, it’s probably a good idea to follow up with them about what you’re writing. Most reporters don’t follow up with a source unless they need further information. But there’s no harm in sending the person an e-mail thanking them for the interview. It will be a nice touch if you contact them in the future. Your thank you e-mail might also contain a request related to your original reason for contacting them, or you can save that for later.
It’s not required, but after your article is written and/or published, it won’t hurt to send them a copy of the article or a link to where it is published. You are flattering them by turning them into an expert on the subject of the interview. So it doesn’t hurt to remind them now that you have done this.
Writing Your Article and What To Do With It
You said that you were a writer, and now that you’ve interviewed your expert, you should really sit down and turn the results into an article. You’ll lose credibility if your “article” is simply a summary of the interview. You want to write a relatively credible article about the subject, which will include various sources and observations. If you refer to the interview or quote them, this should be at a logical point within your article.
If you have a blog or a website, you can then publish the article immediately. On my page about making money on the internet, I even have ideas on how to monetize your site by adding advertising and affiliate links. But even if you don’t intend to make money with your website, you should publish your article, since this adds further credibility in the eyes of this new member of your personal or professional network.
Of course, another alternative is to sell the article to a third party. If you introduced yourself as a freelance writer, then the expectation is that you’ll try to sell the article to a newspaper, magazine, or website. This is outside the scope of this article, but after you’ve had some practice as a writer, you may wish to consider this option. Magazines, newspapers, and even websites do pay for articles. You’ll get some rejection letters, but you’ll also occasionally sell an article, such as my June 2010 QST article (must be logged in to your ARRL account to view link). In addition to whatever money you receive, you’ll have additional credibility in the eyes of your new networking contact if they are quoted in a published article as being an expert on some subject.
Note: Many links on this page are affiliate links, meaning that I might be compensated if you click on the link and enter into a transaction.
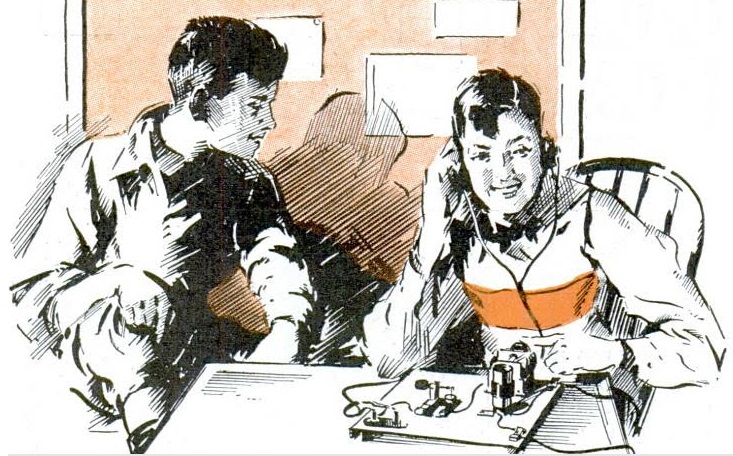
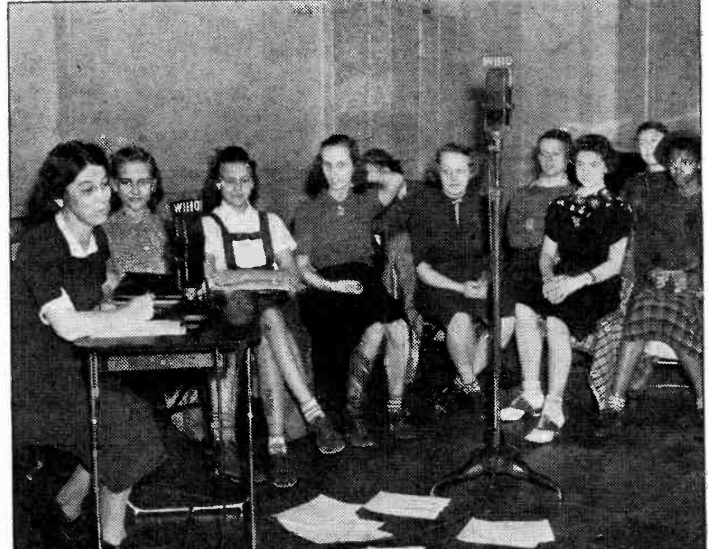 This teacher and students are holding class in 1938 in the studios of WHIO, Dayton, Ohio, as shown in the December 3, 1938 issue of Radio Guide.