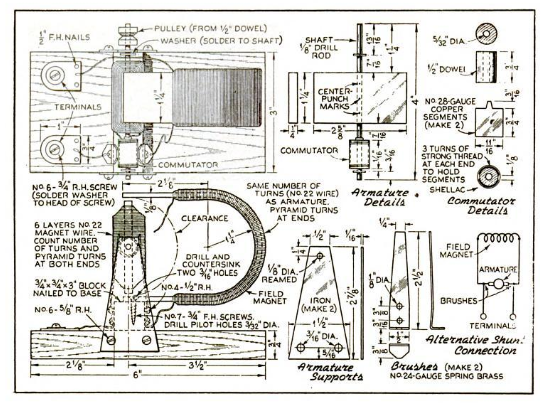
 If you’re getting ready to go to bed, and Junior just remembered that the science fair project is due tomorrow, there’s no need to panic. Any of the projects on this page will provide a suitable demonstration of some scientific principle, and you–er, I mean Junior–can whip them together in a few minutes with materials found around the house.
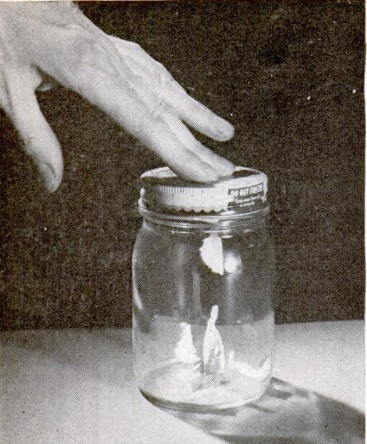 The first one, shown at right, demonstrates static electricity. A glass jar with a metal cap contains a few bits of tissue paper, and Junior can make them “dance” without moving the jar. This is done by shuffling his feet along the carpet to get an electric charge. Instead of touching an unsuspected family member as he would usually do, he touches the lid of the jar. This causes the paper to be attracted and leap from the bottom of the jar.
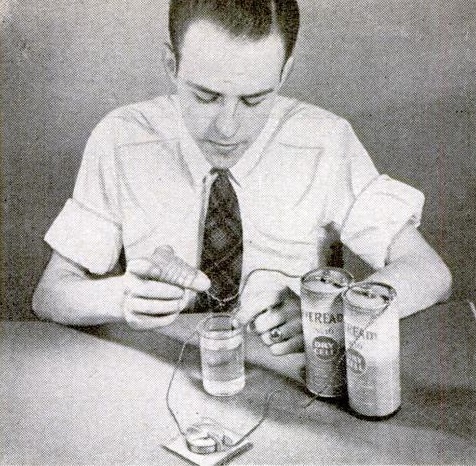
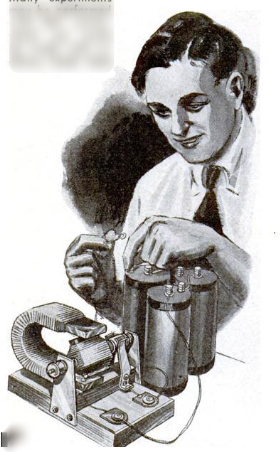
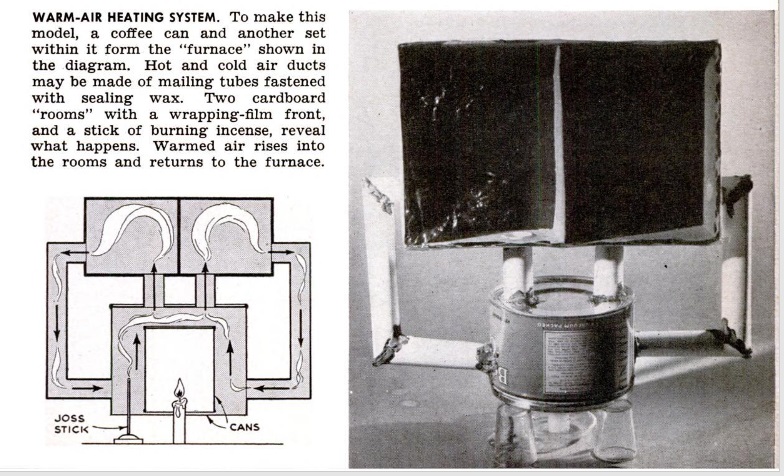
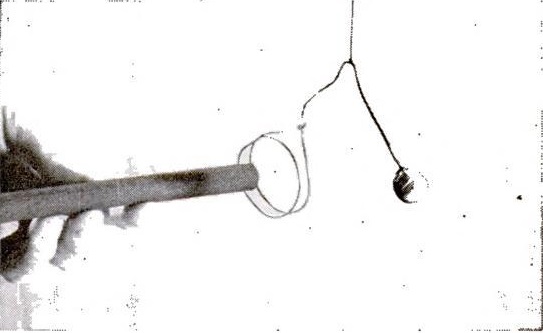
The next experiment, shown at the top of the page. demonstrates the relationship between magnetism and electricity. A closed coil of copper wire is suspended next to a magnet. Another magnet is moved inside the coil. The magnet induces a current in the coil, which causes the coil to become an electromagnet. It is then repelled from the hanging magnet.
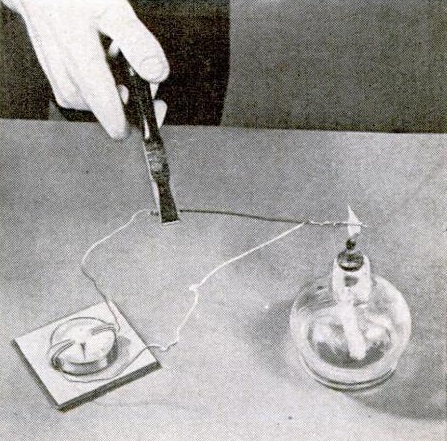
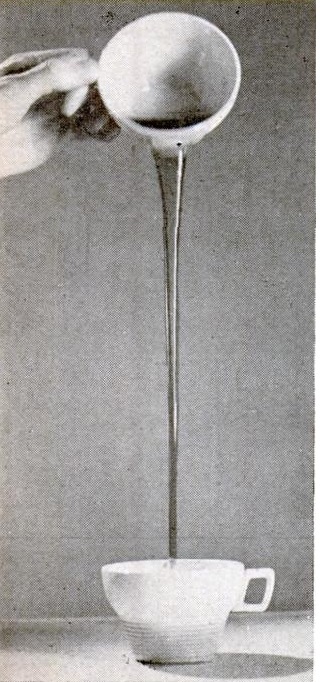 The third experiment, at left, demonstrates indirectly the acceleration due to gravity. A liquid is poured, and it is noted that the column becomes thinner toward the bottom. This is because the liquid is moving faster at the bottom.
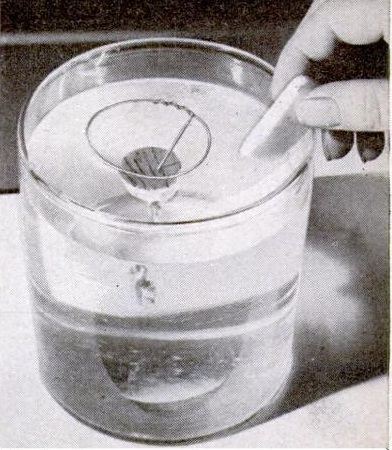
Finally, Junior can demonstrate the concept of surface tension with the experiment shown below. A cork is carefully connected to a metal ring, and placed in a cup of water so that the cork is just barely submerged by the surface tension of the water. When a bar of soap is touched to the water, the surface tension is reduced, and the cork pops to the surface.
The science teacher will be suitably impressed, and won’t have any idea that the experiments actually came out of the May, 1943, issue of Popular Science.