 For the aspiring scientist who is interested in earthquakes, today we show you how to build your own seismometer. If you started by searching for “science fair seismograph,” you were possibly disappointed at the initial search results. You undoubtedly found sites showing how to make a toy seismosgraph out of materials such as cardboard boxes. I’m sure these were fine projects for less advanced students, but they weren’t real seismographs. Instead, they were models that showed how a seismograph worked. You build the toy instrument, and then jump up and down in close proximity, simulating an earthquake.
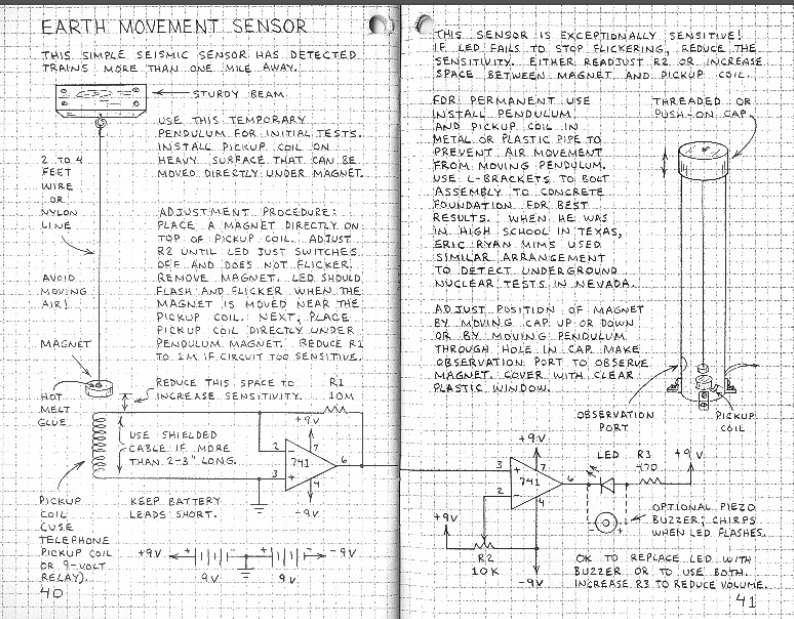
We are glad that you kept searching, because we will show you how to build a real seismometer or seismograph, one capable of detecting distant earthquakes. If there are no earthquakes before the science fair, you can test the unit with nearby trucks and trains as they pass by. The unit shown here, for example, picked up trains a mile away. In addition, a very similar unit was used, in Texas, to detect underground nuclear tests in Nevada. So it’s not a toy–it’s a real seismometer.
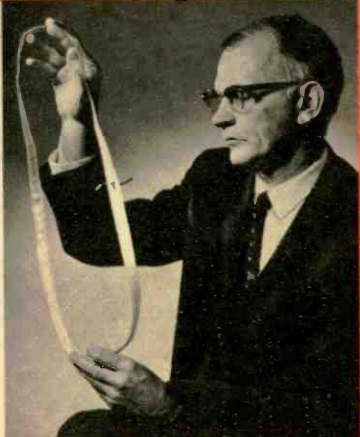
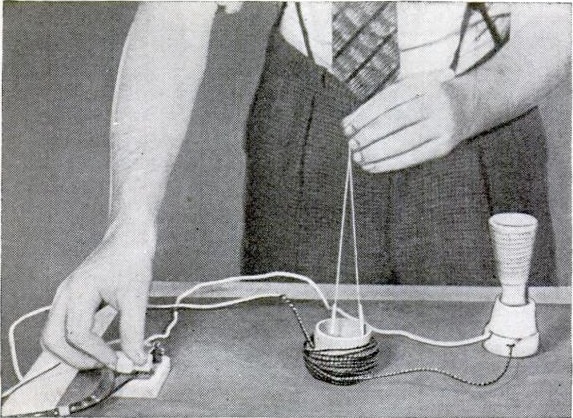
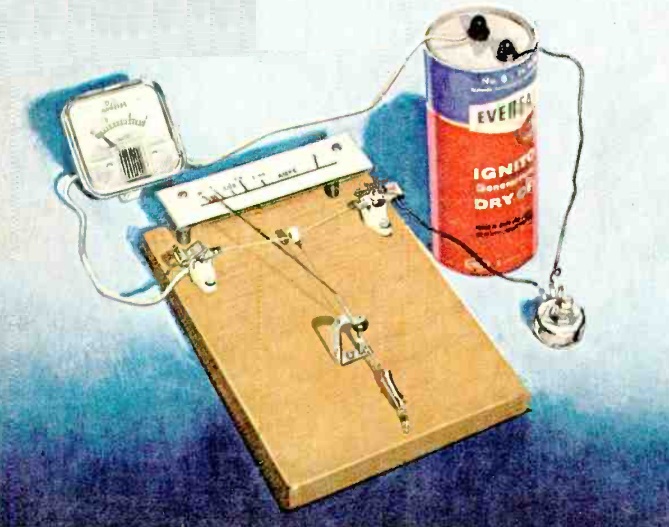
The overall concept is clear from the diagrams shown above. A magnet is suspended from a wire or line attached to a sturdy beam of your building. In the final version, this pendulum is placed inside a pipe, to prevent air currents from disturbing it. The magnet is placed above a coil, and the slightest motion of the pendulum, caused perhaps by an underground nuclear test hundreds of miles away, induces a tiny electrical current in the coil. This is amplified by two op amps, and registers with an LED and/or a piezo buzzer.
As shown in the diagram, the instrument is a seismometer, since it detects seismic activity. To turn it into a seismograph, you will need to add some method of recording the readings continuously. However, that is a very easy matter, thanks to a data acquisition module, similar to the one shown at left. This is a very inexpensive device that hooks to the USB connection of your computer. It has several inputs that you can hook to a circuit, and it continually feeds the measured voltage to the computer. You can then use the computer to record the data numerically or in a graph.

All of the other parts are readily obtainable. From Amazon, you can order the telephone pickup coil, the 741 op amp chips, and all of the other electronic components. (For ideas on how to buy parts, see my crystal set parts page.) All of the mechanical components should be available in any hardware store.


The diagram above is from a book by Forest Mims III, Engineer’s Mini-Notebook: Science Projects, one of a series sold at Radio Shack. This particular volume was published in 1990. It’s available free online. The same author has another version of the seismograph at this site. You can also visit his website, forestmims.org.
Incidentally, as you can see above, the book contains the phrase, “when he was in high school in Texas, Eric Ryan Mims used a similar arrangement to detect underground nuclear tests in Nevada.” There is a multimedia CD by this long title by Canadian musician Matt Rogalsky. Inspired by that phrase, Rogalsky processed the output into ambient sound. While it is out of print, used copies are available on Amazon.