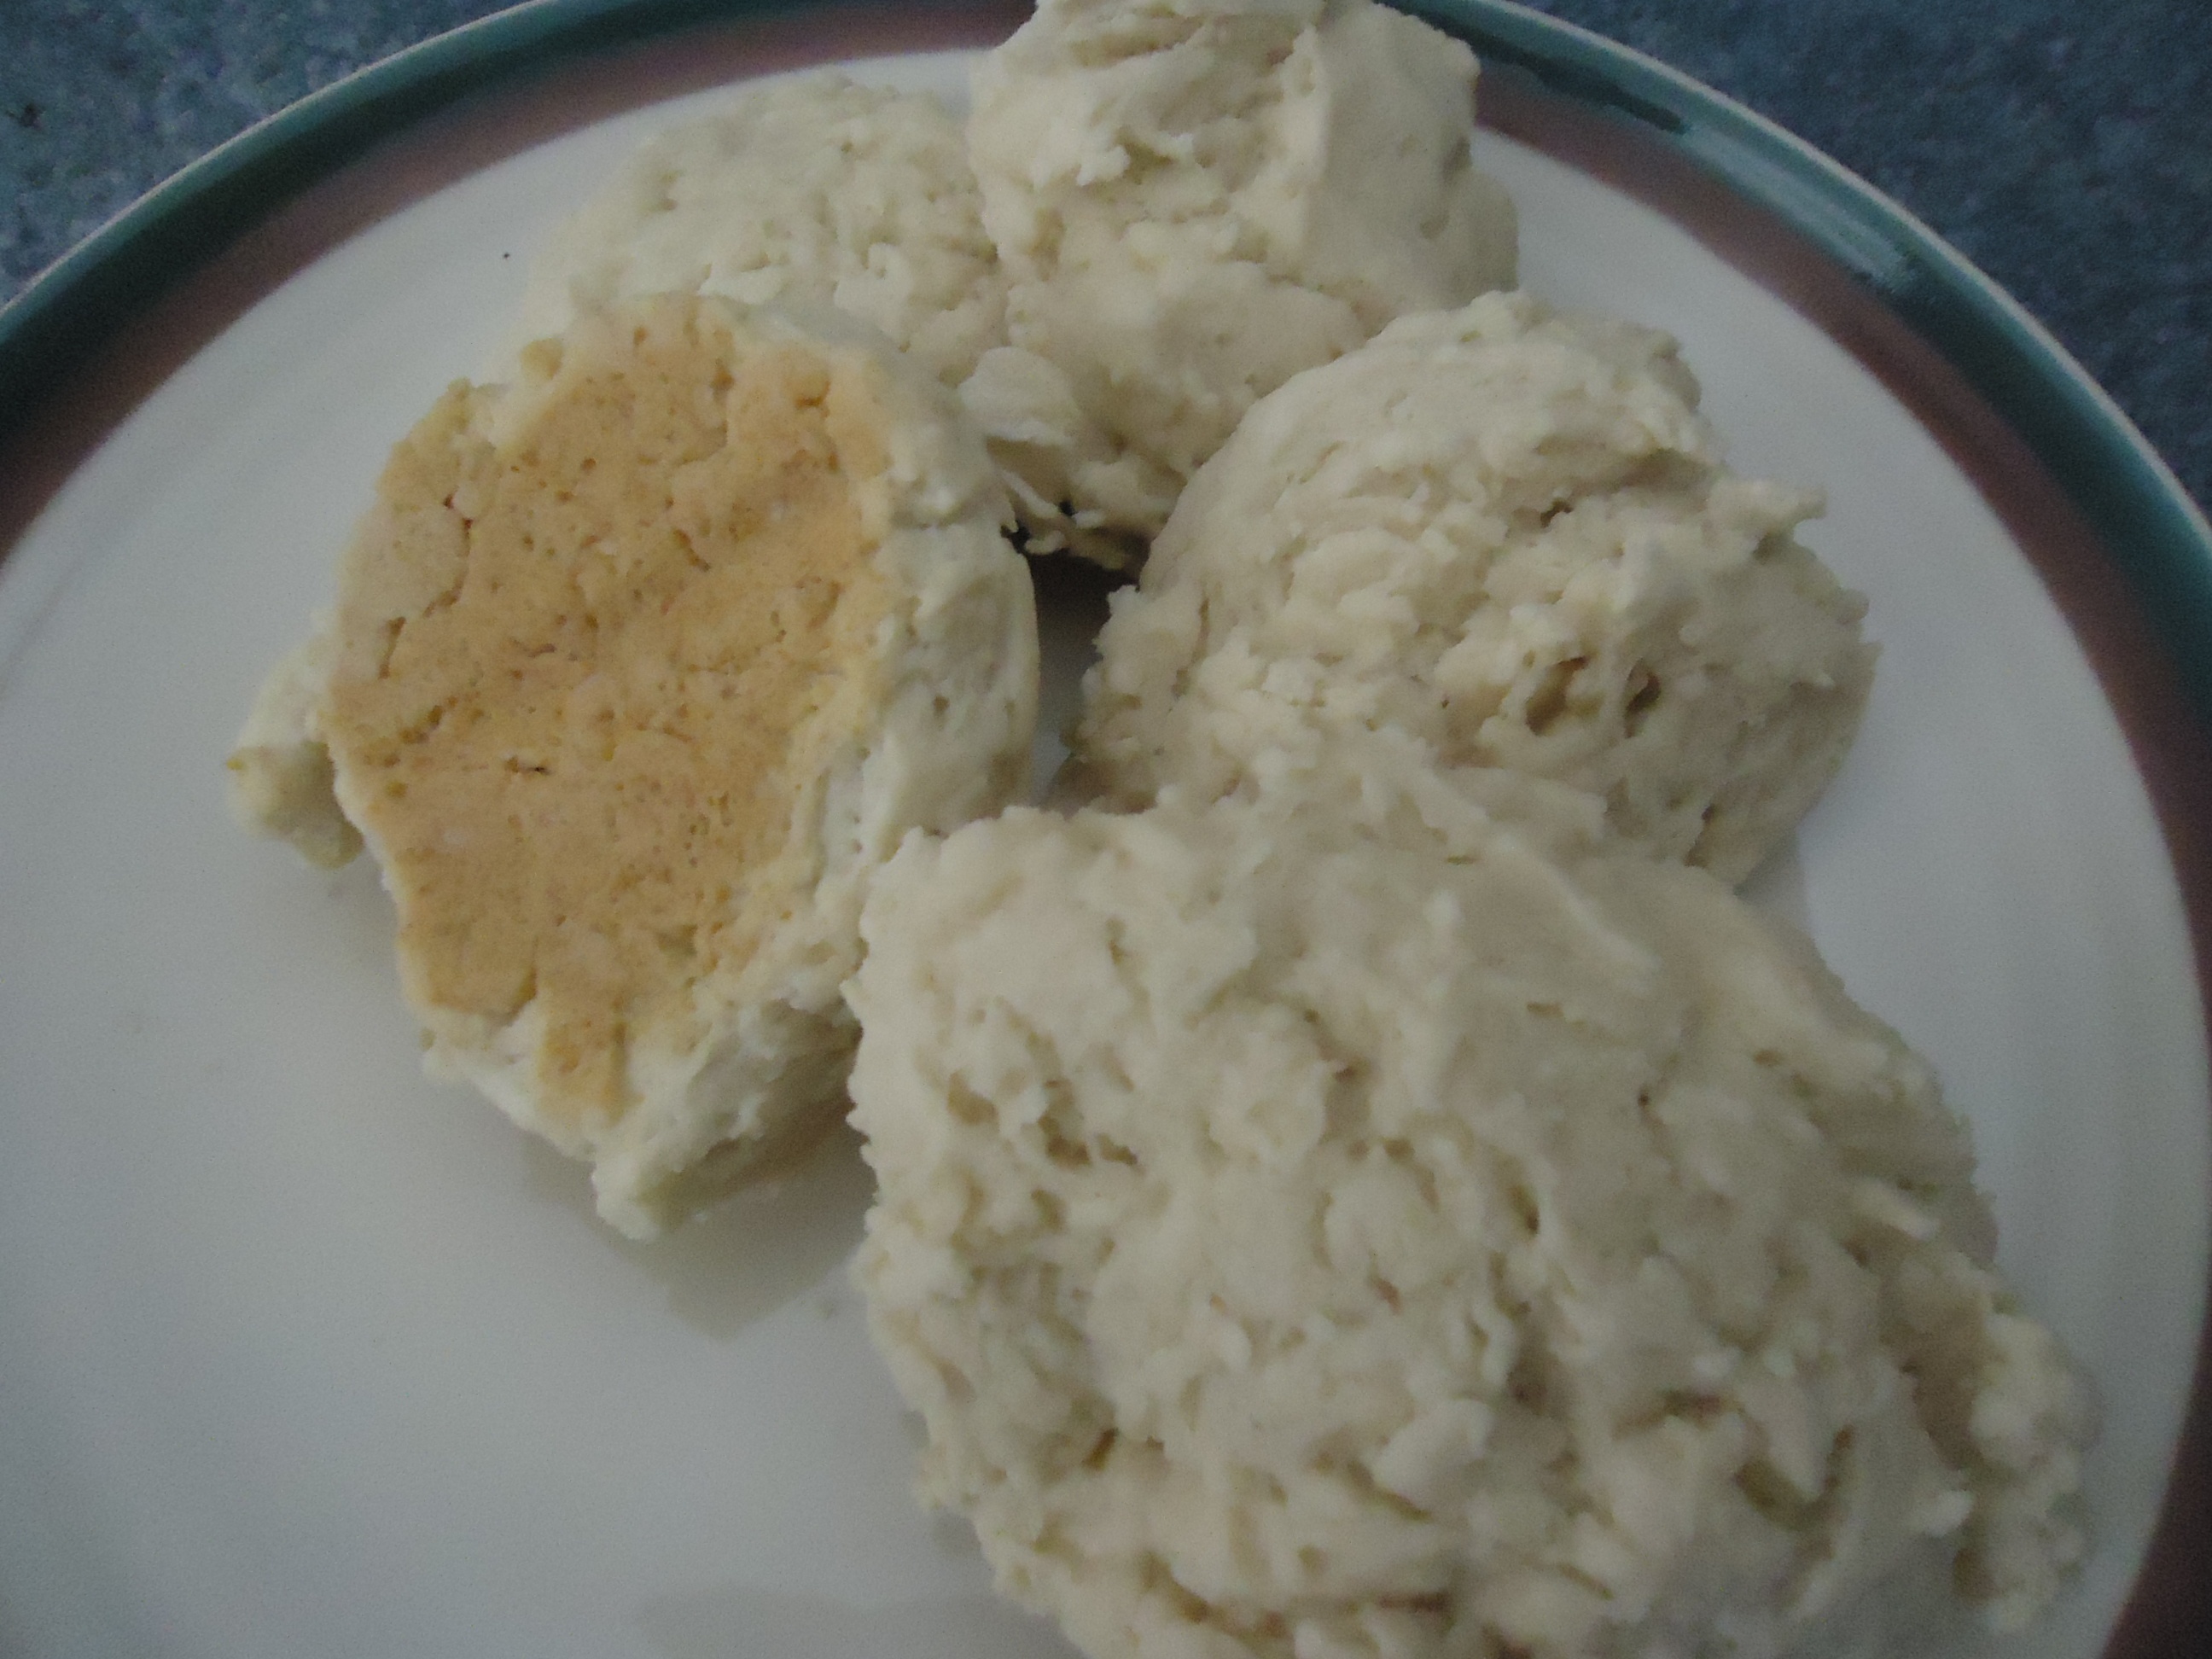
One cup of flour, turned into edible form.
As I’ve mentioned in other posts, I don’t own a single piece of camouflage clothing, so I must not be a “survivalist.” On the other hand, I do recognize that it’s a good idea to have some rudimentary preparations for getting through life’s emergencies. Those emergencies can range from the very serious, such as the Zombie Apocalypse, down to the very minor, such as not wanting to go buy a carton of milk because it’s raining. In either case, it’s a good idea to have some food around the house.
For some people, that might mean investing in special “storage” food in adequate quantities to last the entire duration of the zombie outbreak. For other people, it’s a more modest supply of canned goods to last the length of a winter storm. I tend to be in the middle of that range. Therefore, when I think of emergency food storage, I think in terms of keeping adequate quantities of “normal” food on hand, rather than buying special “survival” food. As outlined on my food storage basics page, that can generally be accomplished at no cost, since it entails buying things that we will normally eat.
On the other hand, there is a limit to how much “normal” food one can store. If preparing for a longer term emergency, it might be advisable to purchase some items that can be packed away and forgotten about. On another page on my website, I have some ideas on how to store larger quantities of foods such as milk and eggs and a fairly reasonable price.
During the SNAP Challenge, I ate very well. This was in stark contrast to the experiences of others who were forced to eek by for a week on starvation rations. I was successful where others failed for one reason, and one reason alone. I was able to eat well because I invested a small amount of my very limited food budget on two items: A bag of flour, and a bag of sugar. Between these two bags, I spent less than five dollars, but these bags took care of all of my caloric needs for a whole week. With my remaining money, I was able to easily take those basic calories and make the meals appetizing and nutritious. But the flour and sugar kept me fed very well, and I had leftovers at the end of the week.
This is an important lesson for storing food for emergencies: In order to do long-term storage at a reasonable price, it is necessary to have some of that food be in the form of basic ingredients, such as flour and sugar. Of course, much of your emergency food storage should be in the form of foods that can be eaten with no preparation or minimal preparation. But as the SNAP Challenge has proven, this can make the cost prohibitive. To give you some idea, this special One Year Emergency Food Supply of “survival” food will set you back almost $10,000. The equivalent number of calories, if purchased in the form of flour at supermarket prices, would be about $400. In other words, special “survival” food can cost about 25 times as much as “normal” food in the form of basic ingredients.
Therefore, it is clear that to have long-term food storage, you do need to plan around basic ingredients, just as I did during the SNAP Challenge. The difficulty with this approach is, of course, that it will entail cooking. During the SNAP Challenge, I made use of many modern conveniences, such as an oven, a toaster, and an electric coffee maker. During many disasters, some or all of these modern conveniences would be unavailable. And, of course, during many disasters, the electric power and/or natural gas will not be available.
One way of dealing with this issue is to spend thousands or millions of dollars on a survivalist bunker with all of the conveniences of home. All you need to do is stock it with thousands of gallons of diesel fuel, and you can live out the zombie apocalypse in style. For many, however, this is not an option. And for someone like me, who doesn’t even own a single piece of camouflage clothing, this isn’t a particularly good option.
A better way of approaching the problem is to be creative and figure out how the minimal preparation of food can be accomplished without all of those modern conveniences. In most cases, this will add some difficulty, but those difficulties are rarely insurmountable. Therefore, this morning, I decided to see how I could turn a cup of flour into edible food without using the oven. I normally use the oven to cook food, because it is very convenient. I merely set the temperature, put in the food, wait the specified number of minutes, and then remove the item. This process is made extremely convenient by luxuries such as a large volume in which to cook, an automatic thermostat, and even a timer. But these are mere luxuries. At its most basic level, the oven does one thing: It generates heat. This is all that is necessary for cooking. Everything else is nice to have, but not necessary. As long as you have a method to generate heat, it will be possible to cook. Therefore, as long as you have a method to generate heat, you can cut your food costs from $10,000 per year down to $400 per year. And at these lower prices, it is possible to store food for longer term emergencies.
To demonstrate this principle, I decided to turn a cup of flour into food that I can eat, without use of the oven. There are many ways in which this can be accomplished, although all of those methods require heat. For the heat, I could have used a charcoal grill or a backyard gas grill. I could have used a Solar Oven . I could have used a campfire. The exact method of generating heat is unimportant. Depending on the method, the exact cooking procedures might need to be modified. But as long as heat is available, then the flour can be turned into food.
I decided to use an electric turkey roaster to generate the heat. In many disaster situations, this would not be an option, since it requires electricity. But again, the exact method of generating the heat is unimportant. I merely want to demonstrate that it is possible to turn flour into food with any available source of heat. To one cup of Self Rising Flour , I added a quarter cup vegetable oil and a quarter cup milk. I used fresh milk, but powdered milk would have worked just as well. And since normal flour stores better, in an emergency situation, I probably would have used regular flour along with baking powder. But I’m merely establishing the concept here. The details can be worked out depending on what is available.
If you want more ideas about the concept of generating heat during an emergency, please visit my How To Make Coffee Without Electricity page.
The resulting biscuits are shown above. I baked the biscuits in the turkey roaster at the highest temperature setting (marked 400 degrees, although I suspect the actual temperature is lower) for about 40 minutes. Without a real oven, the biscuits never really get brown. But they tasted just fine. And more importantly, they represent food, even though they started out as basic ingredients that were not edible in their original form.
The important lesson of the SNAP Challenge is that with a bit of planning and a bit of creativity, it is possible to prepare for emergencies at a very low cost. If you think in these terms, then you don’t have to worry so much about FEMA coming to rescue you after a disaster. And more importantly, if you are concerned about others, then FEMA doesn’t have to worry so much about coming to rescue you after the disaster, and they can concentrate their efforts on others whose situation is more dire.



 On my
On my 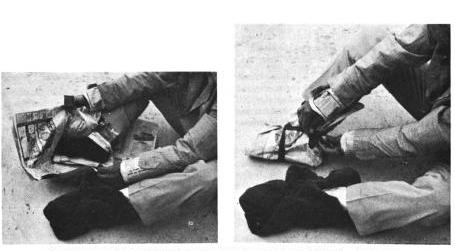
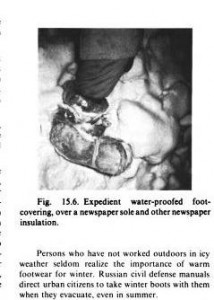 If the snow is wet, place a piece of strong plastic film or coated fabric outside the insulating layer, after securing it with the first strip of cloth. The outer protective covering should be tied over the waterproofing, with the second strip of cloth securing both it and the waterproofing. (When resting or sleeping in a dry place, remove any moistureproof layer in the foot coverings, to let your feet dry.) Figure 15.6 shows a test subject’s waterproofed expedient footcovering, held in place as described above, after a 2-mile hike in wet snow. His feet were warm, and he had not stopped to tighten or adjust the cloth strips.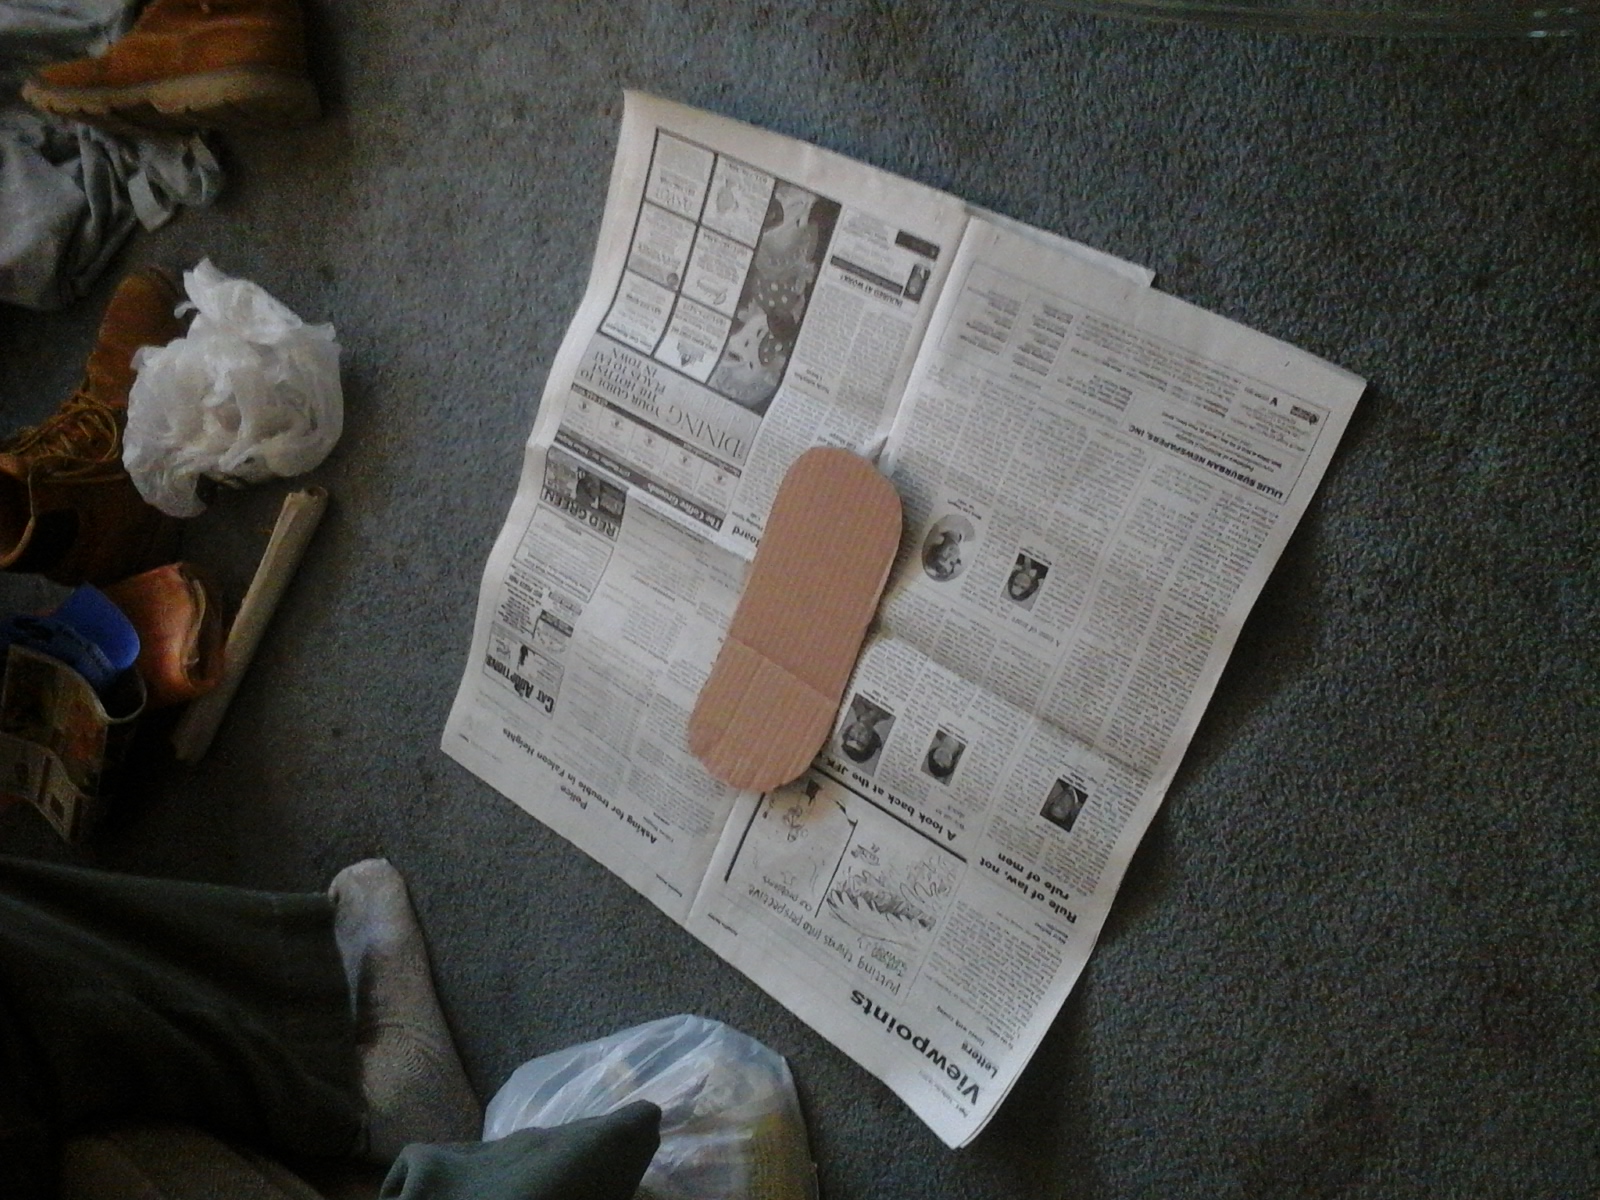
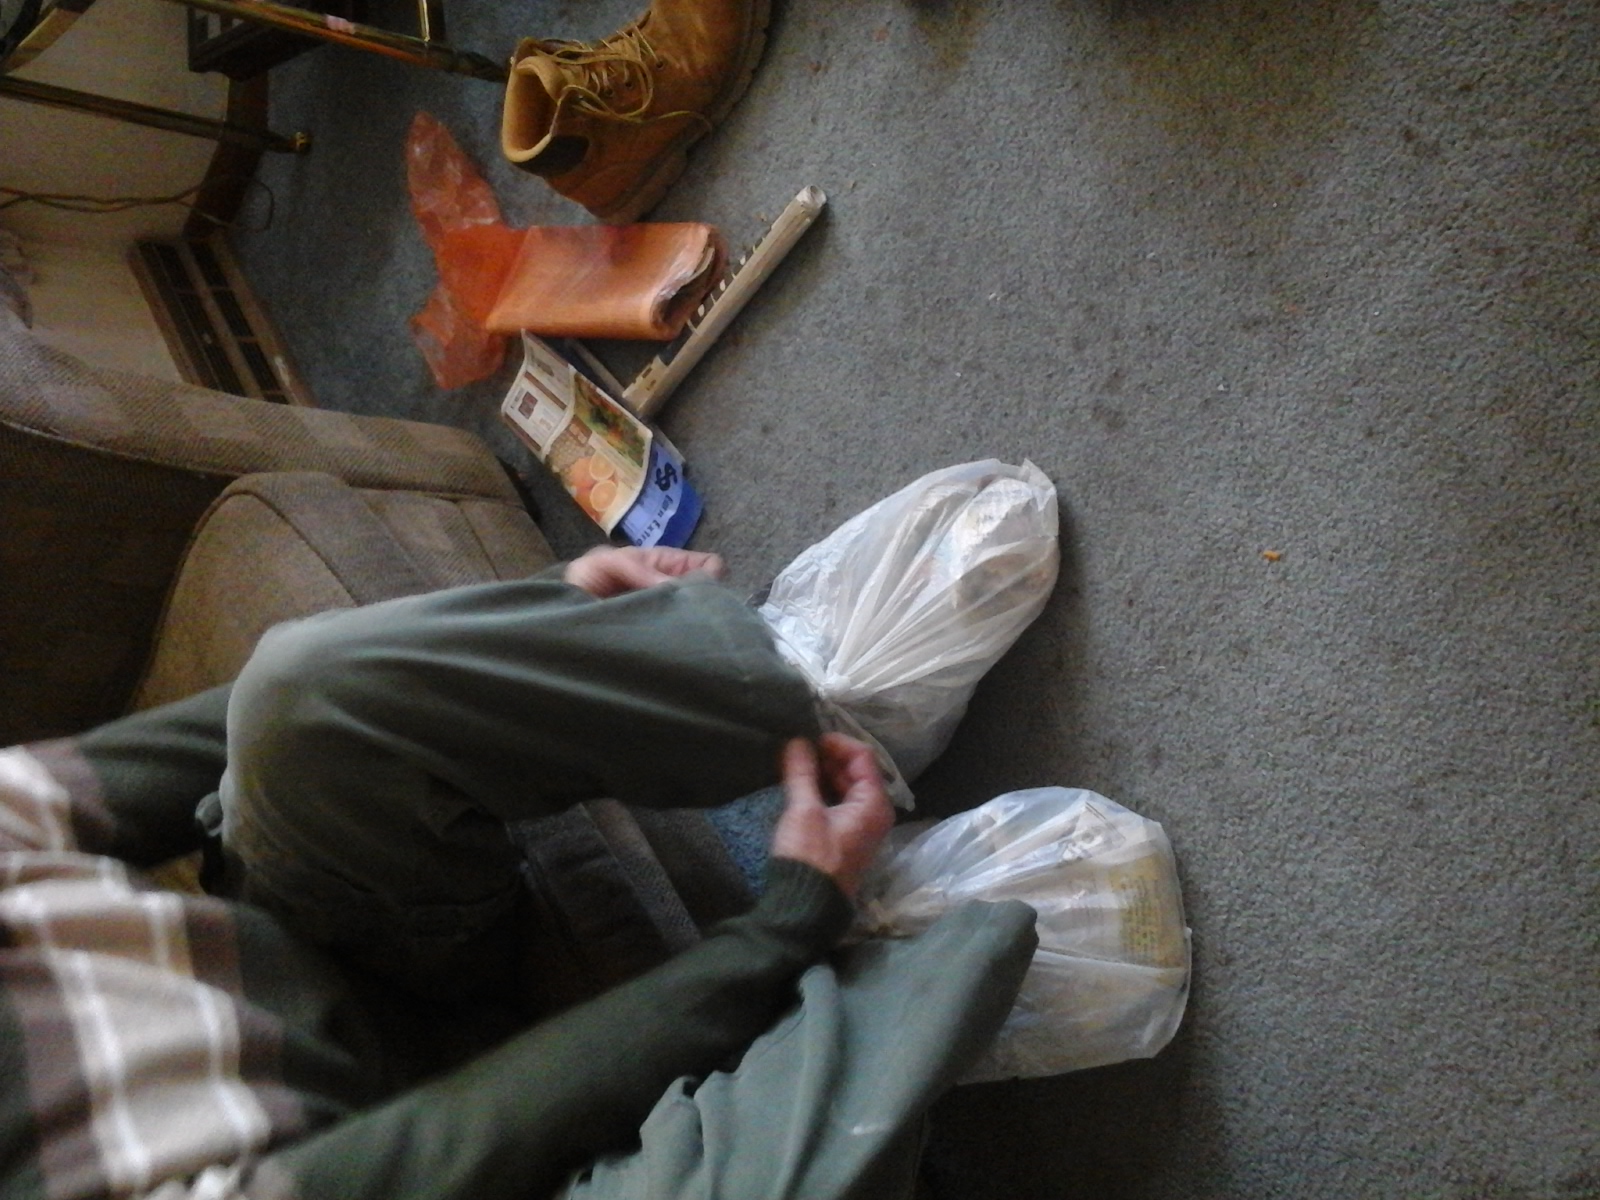
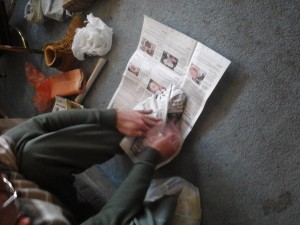 made of corrugated cardboard, and used only about three sheets of newspaper. I then tied these as indicated in Kearney’s instructions. I finished by covering them with a plastic grocery bag.