Monthly Archives: May 2020

Assorted Greeting Cards

A few days ago, we explained how to purchase postage while under lockdown without leaving your home. It occurred to us that you might need something to mail. Despite the availability of instant communications, there’s still something about receiving a physical card or letter in the mail that can’t be replaced.

Chances are, you have some paper and envelopes around the house somewhere, and your distant loved ones will enjoy receiving a note, even if it’s scribbled on a piece of scrap paper. But for some occasions, it’s customary to send a greeting card.

If you can’t get to the store, you can still keep a supply of assorted greeting cards on hand. You can find one assortment at Amazon at this link, and others by searching this link.  Then, whenever an occasion arises, you can shop from your own collection rather than having to go to the store to buy a card.

And if you now have a song stuck in your head, here it is:

Some links are affiliate links, meaning this site earns a small commission if you make a purchase after clicking on the link.


1940 One Tube “Baseball Special” Portable

1940MayRadioCraftEighty years ago this month, the May 1940 issue of Radio Craft carried the plans for this simple one-tube broadcast set dubbed the “Baseball Special.” The author put the circuit together to be able to listen to the play-by-play while sitting in the stands. He noted that the set was never meant to be a DXer, but it pulled in the local stations, the ones that broadcast the game.

The circuit used a 1D8GT triple diode-triode-pentode tube. The diode section was not used, the pentode was used as a regenerative detector, and the triode served as audio amplifier. A short piece of wire served as the antenna. A camera case was used to house the radio, although the author noted that the works could just as easily be tossed into a paper bag.


1945 One-Tube Space Charge Receiver

1945MayRadioCraftThis wartime circuit from the May 1945 issue of Radio Craft is about as simple as it gets. It was sent in to the magazine by Jim Brophy of Chicago, who reported that it gave good volume on all of the local stations.

What’s somewhat remarkable–in addition to the low part count–is the fact that the set used two flashlight batteries for the filaments, and only three penlight cells for the “B” battery. The low voltage requirement was due to the space-charge principle. The grid closest to the cathode in the tetrode tube (in this case, a type 49) was kept at a positive voltage. The magazine’s editors noted that this was one of the oldest effects in tetrode tubes, but had dropped into obscurity. But with wartime shortages of B batteries, the magazine noted that it was worth some experimentation.

The name of the person who submitted the idea, Brophy, rang a bell.  It doesn’t sound like a very common name, but also in 1945, one Loretta Brophy was working at WABD-TV in New York.


Mail During Quarantine: How to Get Stamps

Quick links:

CDSafetyNotificationCard

Neither snow nor rain nor heat nor gloom of night stays these couriers from the swift completion of their appointed rounds.

–Herodotus, as carved in stone at the New York Post Office.

The postcard shown above, first issued in 1959, and current for at least two decades thereafter, was a Safety Notification Card (Post Office Department form 810), for use after a civil defense emergency such as a nuclear war.  After such an event, the Post Office would be tasked with putting friends and relatives back in touch with one another.  On the front of the card, you would write the name and address of those who might be worried about you.  On the back, you would sign your name and give the address where you could be reached.

MushroomCloudI have no doubt that after Americans emerged from their fallout shelters, the Post Office would use Herculean efforts to deliver these cards, and most of them would go through.  The Post Office is one of the things that makes us a country, and thus one of the things over which such a war would have been fought.  It’s unthinkable that they would bother with fighting a nuclear war and then decide not to deliver the mail.  Under the Constitution, the Congress has the power and duty to establish a Post Office, and a nuclear war doesn’t change that.  Neither does a pandemic virus.  With very few exceptions, the mails right now continue to flow without interruption during the lockdown.  And most of the exceptions come from things outside the control of the U.S. Postal Service.  For example, mail service is currently suspended to over a hundred countries, due either to lack of transportation or a shutdown of postal service in the destination country.  But the U.S. Postal Service is doing whatever needs to be done to make sure the mail goes through.  Even though most international mail has been by air for the past few decades, suspension of flights has prompted the U.S. Postal Service to send mail to Europe by container ship.

In my experience, domestic mail is going through with little delay.  I have a forwarding order to have all of my office mail to go to my home, and even forwarded items are arriving, at most, a day or two later than I would have expected them.  The postal workers and letter carriers are working hard, and in many cases risking their lives to make sure the mail goes through.  Would they have risked their lives delivering post cards across a nuclear battlefield?  I have little doubt that they would have.  (Say, that might make a good book.)

Much of my work involves getting and sending things in the mail.  And with the national emergency, the mail also serves as one of the ways that vital supplies arrive at our house.  Yes, some of our food comes by mail.

One practical issue, however, is buying postage.  In the pre-COVID time, I had to go to the post office frequently, and when the line was short, I picked up a few weeks’ supply of stamps.  Sometimes, I would mail items at the counter, but I would usually just weigh them myself and affix the exact amount of postage required.  (If you don’t have a scale, they’re not expensive.)  Little has changed in that regard, since I can just leave outgoing mail for the carrier.  But getting stamps has become more difficult.

Buying stamps online

At first, I ordered stamps online at the USPS website. Orders are fulfilled at a central location in Kansas City.  At first, it worked well, and stamps and stamped envelopes arrived about a week after I ordered them.  All denominations are available, and they’re sold at face value with only a small shipping charge.  But the most recent order took 2-1/2 weeks.  They’re obviously swamped in Kansas City, I was almost out of stamps, and had to come up with another way of getting them.  Update:  The last few orders have gone smoothly, and the stamps arrive within about 10 days.

Curbside stamp pickup

I did find three sources locally that  have curbside pickup.  Office Depot has stamps, at face value.  You can buy a book of 20 Forever stamps for $11.  Unfortunately, the closest one was out of stock, and other stores looked like they had low stocks.  Update:  Since I originally wrote this, Office Depot is doing an excellent job of keeping stamps in stock.  You can usually order online and pick them up curbside the same day.    Walgreens also sells stamps at face value.   You can order online and pick them up, usually in about an hour, either curbside or at the drive-up window.  It looks like CVS has curbside pickup of stamps in some states, although I don’t know if they are being sold at face value.

Printing postage at home

MailTruckAnother great option is OrangeMailer.co which allows you to buy postage online and print it with your printer.  I was leery about using them, since I imagined my printer jamming and having to pay again.  Fortunately, that is not the case.  You can print as many times as necessary until you get it right.  Of course, if you use more than one of those prints for postage, you’ll be spending some time in Leavenworth.

To buy postage, you enter the name and address of the recipient, and when you’re done, the website directs you to turn on your printer and print a label with the address, your return address, and the postage meter.  For letters, you can print right on the envelope.  It took me a couple of tries with my printer settings to get it exactly right.  The first few times, it cut off my return address.  When I told my printer that it was printing a number 10 envelope, it cut off the return address.  But when I lied and told the printer that it was a 4 by 8 sheet of paper, it worked perfectly.  Similarly, for small envelopes, I have to tell the printer that it’s a 4 by 6 piece of paper.

I have also mailed one small package, and that works well.  You enter the dimensions and weight of the parcel, and it prints a label with the right amount of postage.  Of course, we don’t have any labels in the house, but you don’t need any.  I used a plain sheet of paper and affixed it to the package with Scotch tape.  One advantage for packages is that if a package is over 13 ounces, you can’t use stamps.  But printing the postage online is equivalent to taking it to the counter at the Post Office.

The philatelist in me likes using real stamps.  And it’s faster to just scribble the address and slap on a stamp.  But given the current emergency, OrangeMailer.co is an extremely convenient option.  Unlike their largest competitor, there is no monthly charge.  You just have to deposit a minimum of $10, enough for 18 First Class letters.  You pay the customary postage of 55 cents per letter.  They make their 5 cent profit due to the fact that your metered letter is actually going for only 50 cents.  That seems reasonable to me.

Other online sources

If you do need actual stamps, two other options appear to be faster than ordering directly from the USPS.  You’ll pay more than face value, but not a great deal more.  If you combine the purchase with another order, you can get free shipping.  You can buy postage stamps on Amazon for only a little over face value.  If you do a search for “postage stamps,” click the button for “free shipping by Amazon,” and you’ll see the ones that can be added to another order.  As long as the total order is at least $25, there will be no shipping charge.

Walmart also sells stamps online, only slightly above face value, with free two-day shipping with a $35 order.


Some links on this page are affiliate links, meaning that this site earns a small commission if you make a purchase after clicking the link.

1945 Ecophone Model EC-1 Receiver

1945MayRadioCraft2Yesterday, we showed a Hallicrafters “morale” receiver from 1945, and today, we see this ad for another one, from the May 1945 issue of Radio News.  This femme fatale has taken an interest in this soldier, and it’s not out of the question that she’s a spy.  Fortunately, she won’t get anything out of him, because all he does is sing the praises of the Ecophone Model EC-1 morale receiver.

He’ll tell her that the set is a compact communications receiver with every necessary feature for good reception, and that it tuned from 550 kHz to 30 MHz in 3 bands.  He’ll let slip that it has an electrical bandspread, six tubes, a built-in speaker, and that it runs off 115-125 volts AC or DC.  But since none of that was classified, the Army had nothing to fear.


Hallicrafters RE-1 Sky Courier

1945MayRadioNewsShown here is the Hallicrafters Model RE-1 Sky Courier receiver from 1945. For the G.I. far from home, the radio was as important as mail call in staying connected with home. Early in the war, whatever receiver could be found was pressed into service, but the harsh conditions meant that the military needed a rugged “morale” set, and the RE-1 was the answer.

The set could operate from batteries (90 and 9 volts) or AC power. The method for switching was ingenious. To switch to battery operation, the line cord was inserted into a jack in the back of the radio. The prongs of the cord completed two circuits, and thus served as a DPDT switch, connecting the batteries. The set tuned 550-1600 kHz and 2.8-19 MHz, and contained a built-in antenna.

Above all the set was rugged, and was designed to resist both corrosion and fungus.

The picture and description appeared in the May 1945 issue of Radio News.


1920 One Tube Transmitter-Receiver

1920MayElecExp3Pierre H. Boucheron was obviously our kind of people, as evidenced by his article a hundred years ago this month in the May 1920 issue of Electrical Experimenter, entitled “A One Tube Radio-Telegraph and Radio-Phone Transmitter.” It appears that Boucheron was on the cutting edge of radio technology. He starts his article by noting: “Amateurs, do you realize that a great deal of interesting experimenting is at the present day done by many amateurs all over the country employing undampt (in other words, CW, rather than spark) transmission? For the most part this is being accomplisht by the use of one or more vacuum tubes on oscillating circuits well below two hundred meters (in other words, above 1500 kHz). This is possibly one of the reasons why you do not hear them. Another reason is that it is continuous wave and not readily intercepted when ordinary dampt wave receivers are employed.”

He went on to point out that there were hotbeds of such activity in places such as New York, Philadelphia, Boston, Baltimore, Chicago, New Orleans, San Francisco, and Los Angeles. He pointed out that ranges of five miles were easy on 100 meters (3 MHz), and offered a number of circuits to get on the air.

One of the most intriguing is shown above. It’s a single tube regenerative receiver, suitable for pulling in CW signals. But since it can quickly be adjusted to oscillate, a key between the antenna coil and ground would turn it into a transmitter.

1920MayElecExp4Another interesting idea is the one shown at the left. If you own an audion, but your buddy across town doesn’t, it’s possible to turn your undamped CW signals into faux spark signals. A buzzer is simply placed in series with the antenna circuit of your transmitter. When it’s keyed, the antenna is interrupted many times per second. The result is a signal modulated at the frequency of the buzzer, which can be picked up by your buddy with a crystal detector.


1940 Code Practice Oscillator

1940MayPMThese young men are mastering the code, thanks to this inexpensive oscillator featured in the May 1940 issue of Popular Mechanics. The set featured a single 117L7-GT tube and ran straight off the line current. The switch provided a choice of four tones, and there was plenty of volume through either the speaker or headphones.

1940MayPM2


Sourdough Cooking

SourdoughBreadWith the COVID-19 pandemic, many Americans are learning for the first time that the food supply chain can be tenuous. Fortunately, many of them are also learning that by keeping a few basic ingredients on hand, it’s possible to eat well. But one must take the time to turn those ingredients into food. There’s a bit of a learning curve. I’m by no means a master chef, so if I can do it, it means that just about anyone can do it.

One item that has been in short supply is yeast, or some other leavening agent such as baking powder or baking soda. No matter how much flour you have, if you don’t have a leavening agent, it’s very difficult to bake anything. We have plenty of baking soda and baking powder, although it won’t last forever. Before the pandemic hit, we had only a little bit of yeast on hand, and it’s been more or less impossible to buy it. Fortunately, however, you only need a little bit. And with minimal effort, the yeast will indeed last forever.  Several weeks ago, I used one package of store-bought yeast and used it to make sourdough starter.

The sourdough “purist” will cringe when I say that I used commercial yeast to make sourdough. I admit, this is cheating, and it’s not “real” sourdough. But it doesn’t have to be “real” sourdough.  I’m simply growing my own supply of yeast which can be used in perpetuity.  The descendants of the yeast organisms that I started about two months ago are still going strong, and I now have an infinite supply.  If you aren’t as lucky as me to have a package of commercial yeast, or if you’re a purist and don’t want to cheat, my friend at Successfully Living Simpler shows how to capture a wild yeast culture courtesy of a potato.

Several weeks ago, I started my sourdough starter by mixing one package of yeast, one cup of water, and one cup of flour.  Stir these together in a glass or plastic bowl, and then let it sit out on the counter for a day or two.  Bubbles will form as the yeast eat the flour and produce alcohol and carbon dioxide.  Periodically, you skim off the alcohol and discard it.  If you’re making beer or wine, you would use that, but I’m not that advanced.  You stir it occasionally.  After a couple of days, you can store it in the refrigerator.

To use the sourdough starter, you take a cup of the mixture for use in recipes.  You replace it by adding another cup of water and another cup of flour.  You stir the starter and leave it out again for a few hours, after which you can refrigerate it again.

I’m not sure how important this is, but I’ve been told not to use a metal bowl or metal utensils.  I keep the starter in a glass bowl, and use a wooden spoon to stir it.  I’ve also been told not to use chlorinated tap water.  I don’t know how important that advice is, but we have some bottled water, so I use that.  If I didn’t have bottled water, I would leave some tap water out overnight for the chlorine to evaporate.  If it’s rainy season, you could use rain water.  If you have a well, you could use well water.

I’ve used this starter now to make several recipes of pancakes, bread, and today, cookies.

Sourdough Pancake Recipe

Sourdough pancakes are easy.  You just take a cup of the starter and add a cup of water and a cup of flour.  If you have an egg, add that as well.  Stir, and cook on the griddle as you would any other pancake.  You do need to replenish your starter every few days by removing some and adding new flour and water.  Making a batch of pancakes is the fastest way to keep your starter going.

We started our coronavirus quarantine with a bread machine, but that died on us after the first loaf.  It had sat for many years, and I guess the disuse is what did it in.  It doesn’t matter, though, since making bread the conventional way, I’ve discovered, is quite easy.  As I mentioned above, I’m not a master chef.  And so far, every loaf has come out looking a little bit different.  But they’ve all been good, if I do say so myself.  And bread is easy to make, it turns out.

Sourdough Bread Recipe

Start with one cup of the sourdough starter.  To this, add about 1-1/4 cup warm water.  Add 3 tablespoons + 1 teaspoon sugar, 1 tablespoon salt, 2 tablespoons vegetable oil.  Mix these ingredients, and then start adding flour.  You’ll use a total of about 6 cups of flour.  Start with about 2 cups, and add about 1/2 cup at a time.  At some point, the mixture will stop being a liquid and become, well, a dough.  At that point, you remove it from the bowl and work on a flat surface.

At this point, you kneed the dough with your hands.  I flatten it, sprinkle some flour onto the top, and then fold it together until that flour dissolves.  Keep going until it seems to have about the right consistency.  You’ll learn this with experience.  If the mixture is too sticky, it needs a little more flour.  If it’s too dry, then it needs a little more water.  You played with Play-Doh as a kid, right?  When you have the mixture just right, it will have about the same consistency.

This whole kneeding process takes about 10 minutes.  When you’re finished, you’ll have a big ball of Play-Doh, er, I mean Real-Doh.  Place it in a large greased bowl and cover it with a cloth or paper napkin or towel.  Put this in a relatively warm spot in your kitchen.  At this point, you take a rest, and your yeast will get to work.  Let the dough rise for about two hours.

After two hours, you remove the ball from the bowl and place it again on a flat surface.  Before doing so, lightly dust that surface with flour.  Now, you “punch down” the dough.  Just take your fist and flatten the dough the best you can.  Push it into a somewhat rectangular shape and cut the sheet of dough in half.  A spatula works well to make the cut.  Each one of these halves will soon go into a loaf pan that has first been greased.

Turn each of these halves into the shape of a small loaf.  I found that taking the rectangle and folding it into thirds works the best, as if you were folding a sheet of paper to put into an envelope.  Tightly press down so that most of the air inside the folds is pressed out.  Then, put the loaf inside the loaf pan.

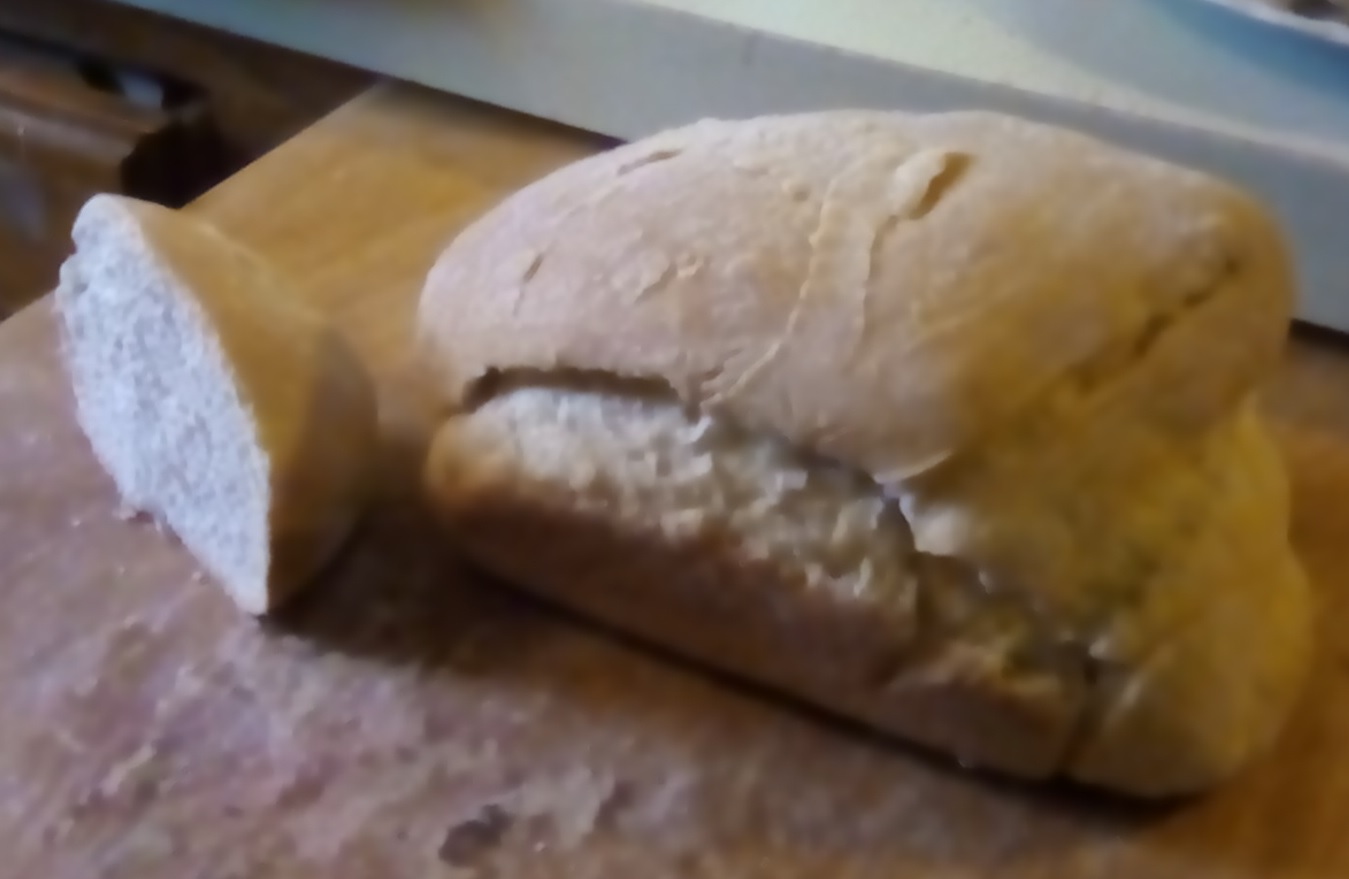
At this point, you take another break while your friendly yeast do the work for you.  Cover the pans with a cloth or paper napkin, and let them rise again for about 90 minutes.  Then, preheat the oven to 375 degrees, and put the pans in to bake for about 30-35 minutes.  When done, remove from the pans and allow the loaves to cool.  From very basic ingredients that cost only pennies, you now have two delicious loaves of bread, as pictured at the top of the page.

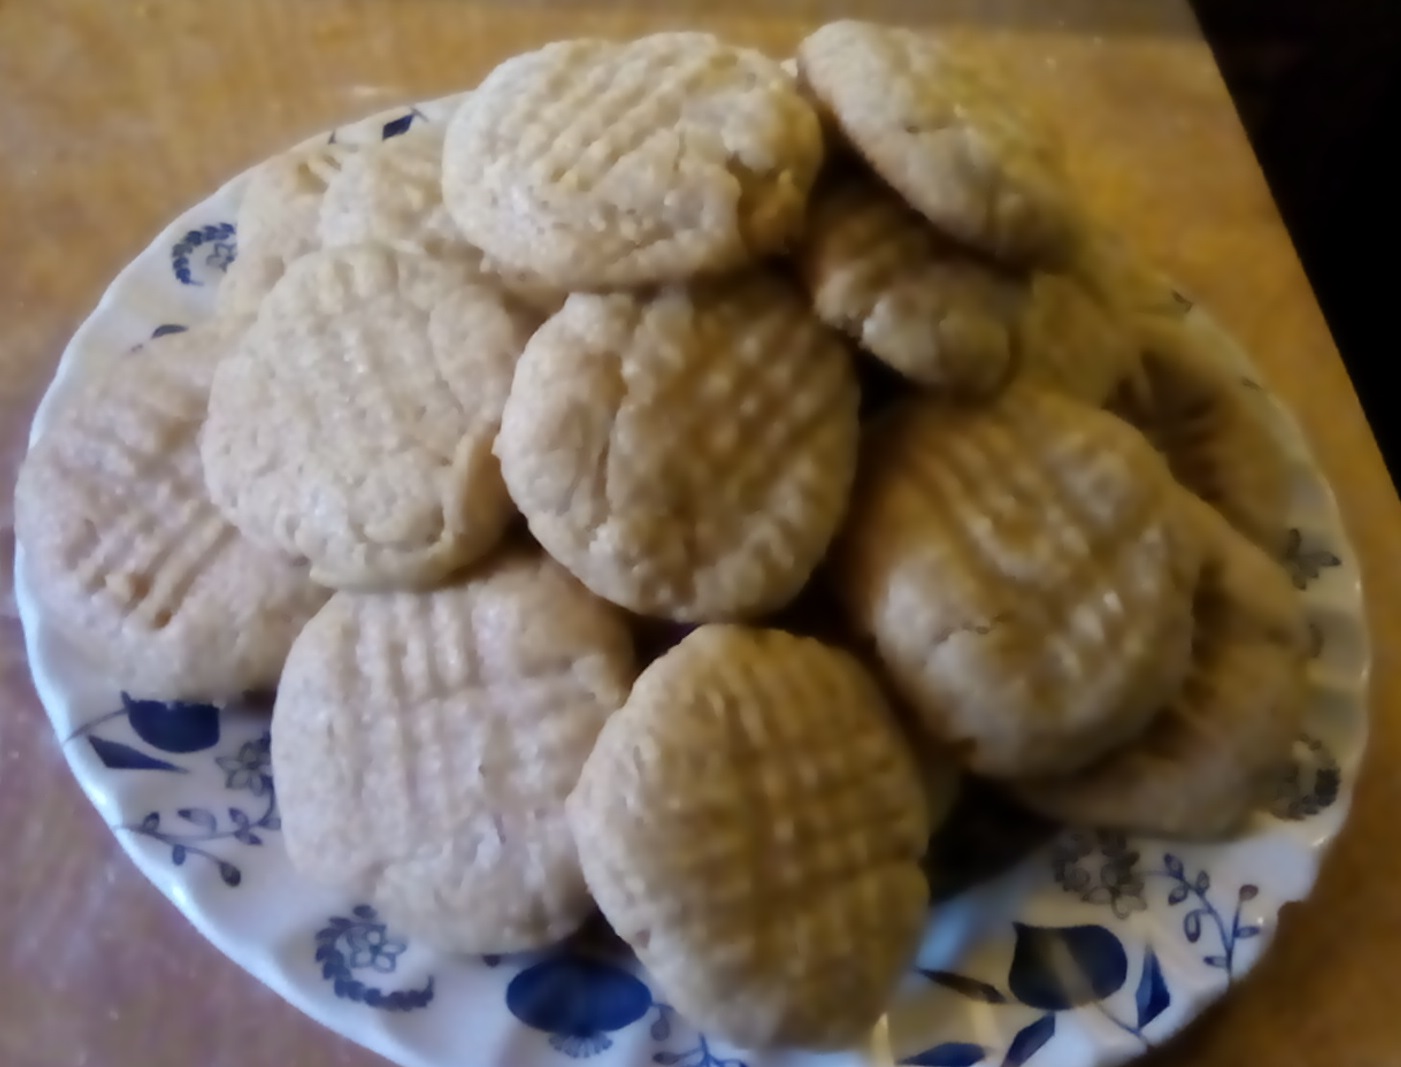
Today, I decided to make some cookies using sourdough.  Normally, cookie recipes call for baking powder and/or baking soda as the leavening agent.  We are fortunate to have both ingredients in the house, but some might not be as lucky.  My quest today was to see if I could bake cookies using instead the sourdough starter.  It turns out this is possible, and they tasted very good, if I do say so myself.  They are shown at the bottom of the page.

Experimental Sourdough Peanut Butter Cookies

Start with one cup of sourdough starter.  Add 1 cup of peanut butter, 1/2 cup of vegetable oil, 1-1/2 cup sugar, and 2 eggs.  (I realize that in a food emergency, those fresh eggs might not be available.  You could substitute powdered eggs, but they generally aren’t available now.  In other recipes, I’ve substituted applesauce or canned pumpkin for the eggs, and I’m guessing that would work in this recipe as well.)  If available, add 1 teaspoon vanilla.  Stir this together, and add 1/2 teaspoon salt.  When mixed, start adding flour.  You’ll need about 2 cups total.  Start by adding one cup, and then add a little bit at a time.  The mixture will get thick, but you should be able to stir it with a spoon.

When mixed, place balls about one inch in diameter on a cookie sheet.  Flatten these balls with a fork, and bake at 350 degrees for about 14 minutes.  The recipe will yield about 30 cookies.

As with the bread, the cookies were quite good, if I do say so myself.  In fact, I might have stumbled upon a secret recipe.  As I sampled these, it occurred to me that the taste and texture seemed very familiar.  It finally dawned on me that they were identical to Grandma’s Peanut Butter Cookies, the type that is ubiquitous in office vending machines.  That product lists somewhat different ingredients.  In particular, it lists baking soda, but no yeast.  But as far as I can tell, they are identical.

Substitutions should be possible with this recipe.  I used vegetable oil because it was the cheapest alternative, and we have a lot of it.  But butter or margarine would work as well or better.  The original recipe I found called for brown sugar, but I used white sugar because we had more of it.   Of course, if you have baking powder, you could use it instead of the sourdough starter.

The key thing about all of these recipes is that they use extremely simple ingredients, and ingredients that can be stored more or less forever.  A fifty pound bag of flour will keep your family well fed for weeks, as long as you have a few other ingredients.

I hope I’m wrong, but I’m afraid there will be food shortages this summer.  If you keep some basic ingredients on hand, you can perhaps avoid a life-threatening emergency for yourself, your family, and even your friends and neighbors.

SourdoughCookies

Some links on this page are affiliate links, meaning that this site earns a small commission if you make a purchase after clicking on the link.


V-E Day

Churchill waves to crowds.jpg

Churchill waves to crowds celebrating Victory in Europe, May 8, 1945. Wikipedia photo.

Today marks the 75 anniversary of Victory in Europe Day, commonly known as V-E Day.

The instrument of surrender was signed in Berlin by Field Marshal Wilhelm Keitel at 21:20 local time on May 8. The event coincided with President Truman’s 61st birthday, and was less than a month after the death of FDR. U.S. flags remained at half-staff for the remainder of the mourning period.

Truman broadcast that it was a victory only half won, since the battle against Japan still raged on.