 With the COVID-19 pandemic, many Americans are learning for the first time that the food supply chain can be tenuous. Fortunately, many of them are also learning that by keeping a few basic ingredients on hand, it’s possible to eat well. But one must take the time to turn those ingredients into food. There’s a bit of a learning curve. I’m by no means a master chef, so if I can do it, it means that just about anyone can do it.
One item that has been in short supply is yeast, or some other leavening agent such as baking powder or baking soda. No matter how much flour you have, if you don’t have a leavening agent, it’s very difficult to bake anything. We have plenty of baking soda and baking powder, although it won’t last forever. Before the pandemic hit, we had only a little bit of yeast on hand, and it’s been more or less impossible to buy it. Fortunately, however, you only need a little bit. And with minimal effort, the yeast will indeed last forever. Several weeks ago, I used one package of store-bought yeast and used it to make sourdough starter.
The sourdough “purist” will cringe when I say that I used commercial yeast to make sourdough. I admit, this is cheating, and it’s not “real” sourdough. But it doesn’t have to be “real” sourdough. I’m simply growing my own supply of yeast which can be used in perpetuity. The descendants of the yeast organisms that I started about two months ago are still going strong, and I now have an infinite supply. If you aren’t as lucky as me to have a package of commercial yeast, or if you’re a purist and don’t want to cheat, my friend at Successfully Living Simpler shows how to capture a wild yeast culture courtesy of a potato.
Several weeks ago, I started my sourdough starter by mixing one package of yeast, one cup of water, and one cup of flour. Stir these together in a glass or plastic bowl, and then let it sit out on the counter for a day or two. Bubbles will form as the yeast eat the flour and produce alcohol and carbon dioxide. Periodically, you skim off the alcohol and discard it. If you’re making beer or wine, you would use that, but I’m not that advanced. You stir it occasionally. After a couple of days, you can store it in the refrigerator.
To use the sourdough starter, you take a cup of the mixture for use in recipes. You replace it by adding another cup of water and another cup of flour. You stir the starter and leave it out again for a few hours, after which you can refrigerate it again.
I’m not sure how important this is, but I’ve been told not to use a metal bowl or metal utensils. I keep the starter in a glass bowl, and use a wooden spoon to stir it. I’ve also been told not to use chlorinated tap water. I don’t know how important that advice is, but we have some bottled water, so I use that. If I didn’t have bottled water, I would leave some tap water out overnight for the chlorine to evaporate. If it’s rainy season, you could use rain water. If you have a well, you could use well water.
I’ve used this starter now to make several recipes of pancakes, bread, and today, cookies.
Sourdough Pancake Recipe
Sourdough pancakes are easy. You just take a cup of the starter and add a cup of water and a cup of flour. If you have an egg, add that as well. Stir, and cook on the griddle as you would any other pancake. You do need to replenish your starter every few days by removing some and adding new flour and water. Making a batch of pancakes is the fastest way to keep your starter going.
We started our coronavirus quarantine with a bread machine, but that died on us after the first loaf. It had sat for many years, and I guess the disuse is what did it in. It doesn’t matter, though, since making bread the conventional way, I’ve discovered, is quite easy. As I mentioned above, I’m not a master chef. And so far, every loaf has come out looking a little bit different. But they’ve all been good, if I do say so myself. And bread is easy to make, it turns out.
Sourdough Bread Recipe
Start with one cup of the sourdough starter. To this, add about 1-1/4 cup warm water. Add 3 tablespoons + 1 teaspoon sugar, 1 tablespoon salt, 2 tablespoons vegetable oil. Mix these ingredients, and then start adding flour. You’ll use a total of about 6 cups of flour. Start with about 2 cups, and add about 1/2 cup at a time. At some point, the mixture will stop being a liquid and become, well, a dough. At that point, you remove it from the bowl and work on a flat surface.
At this point, you kneed the dough with your hands. I flatten it, sprinkle some flour onto the top, and then fold it together until that flour dissolves. Keep going until it seems to have about the right consistency. You’ll learn this with experience. If the mixture is too sticky, it needs a little more flour. If it’s too dry, then it needs a little more water. You played with Play-Doh as a kid, right? When you have the mixture just right, it will have about the same consistency.
This whole kneeding process takes about 10 minutes. When you’re finished, you’ll have a big ball of Play-Doh, er, I mean Real-Doh. Place it in a large greased bowl and cover it with a cloth or paper napkin or towel. Put this in a relatively warm spot in your kitchen. At this point, you take a rest, and your yeast will get to work. Let the dough rise for about two hours.
After two hours, you remove the ball from the bowl and place it again on a flat surface. Before doing so, lightly dust that surface with flour. Now, you “punch down” the dough. Just take your fist and flatten the dough the best you can. Push it into a somewhat rectangular shape and cut the sheet of dough in half. A spatula works well to make the cut. Each one of these halves will soon go into a loaf pan that has first been greased.
Turn each of these halves into the shape of a small loaf. I found that taking the rectangle and folding it into thirds works the best, as if you were folding a sheet of paper to put into an envelope. Tightly press down so that most of the air inside the folds is pressed out. Then, put the loaf inside the loaf pan.
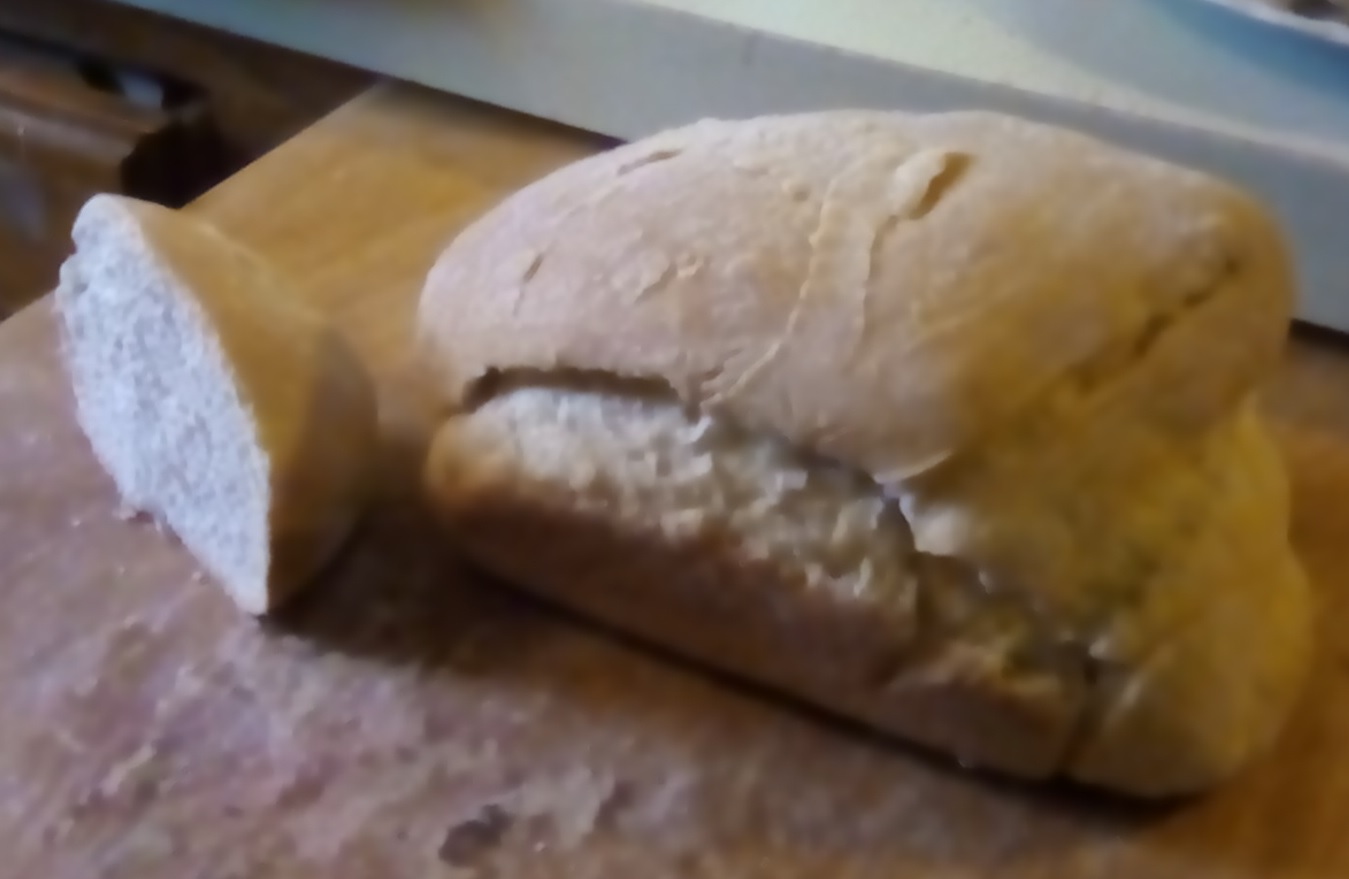
At this point, you take another break while your friendly yeast do the work for you. Cover the pans with a cloth or paper napkin, and let them rise again for about 90 minutes. Then, preheat the oven to 375 degrees, and put the pans in to bake for about 30-35 minutes. When done, remove from the pans and allow the loaves to cool. From very basic ingredients that cost only pennies, you now have two delicious loaves of bread, as pictured at the top of the page.
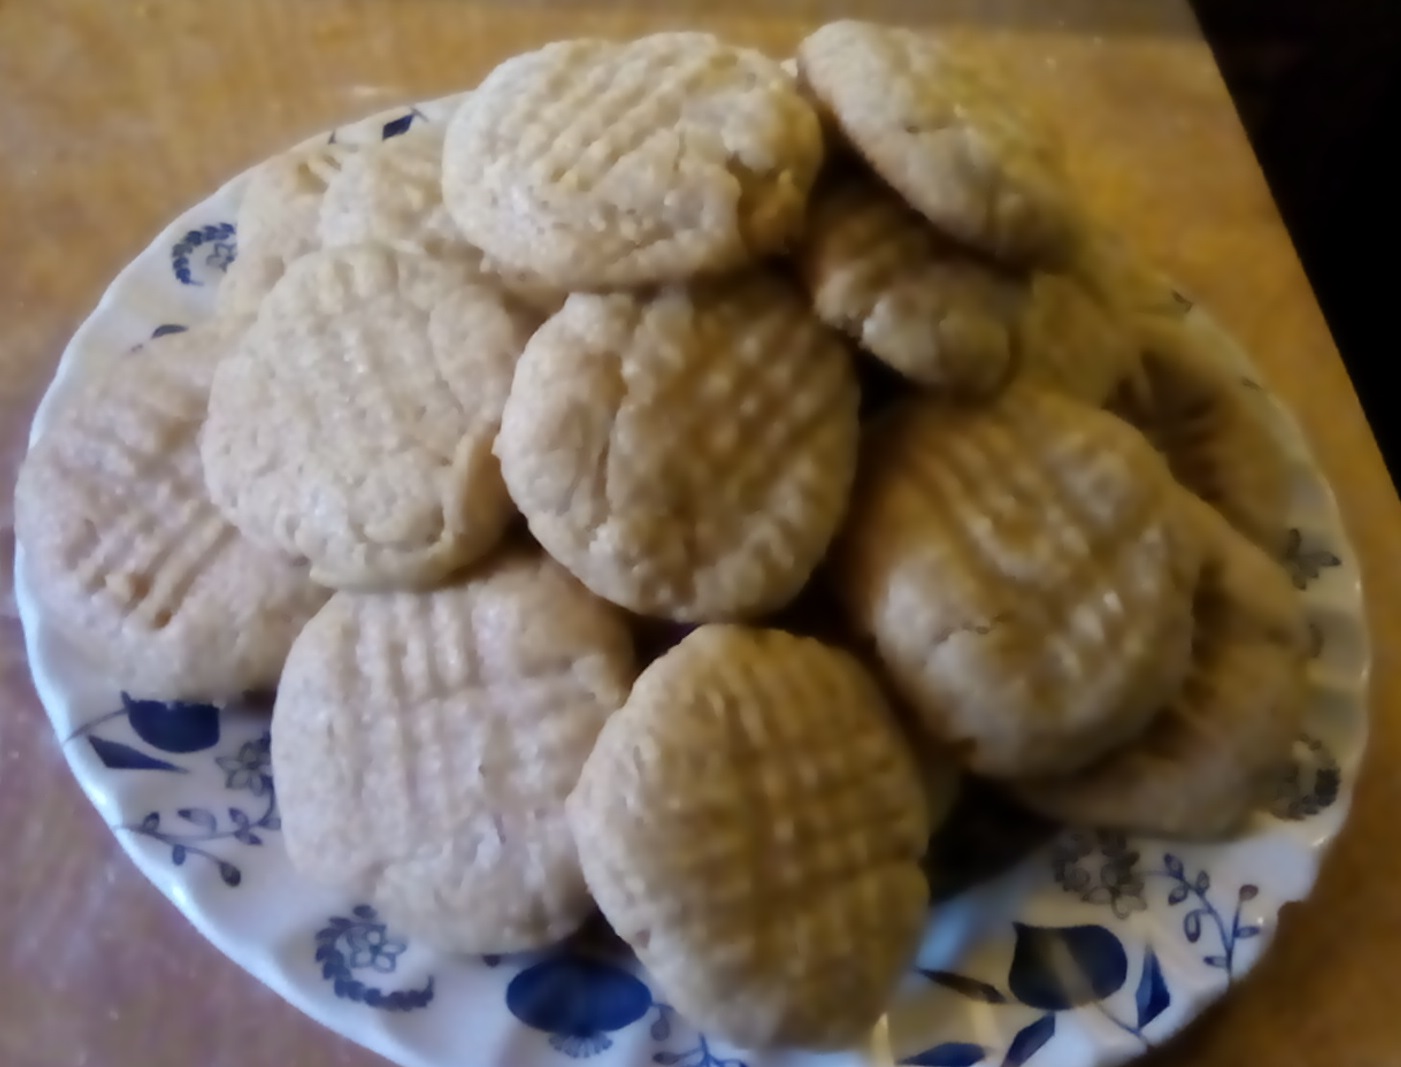
Today, I decided to make some cookies using sourdough. Normally, cookie recipes call for baking powder and/or baking soda as the leavening agent. We are fortunate to have both ingredients in the house, but some might not be as lucky. My quest today was to see if I could bake cookies using instead the sourdough starter. It turns out this is possible, and they tasted very good, if I do say so myself. They are shown at the bottom of the page.
Experimental Sourdough Peanut Butter Cookies
Start with one cup of sourdough starter. Add 1 cup of peanut butter, 1/2 cup of vegetable oil, 1-1/2 cup sugar, and 2 eggs. (I realize that in a food emergency, those fresh eggs might not be available. You could substitute powdered eggs, but they generally aren’t available now. In other recipes, I’ve substituted applesauce or canned pumpkin for the eggs, and I’m guessing that would work in this recipe as well.) If available, add 1 teaspoon vanilla. Stir this together, and add 1/2 teaspoon salt. When mixed, start adding flour. You’ll need about 2 cups total. Start by adding one cup, and then add a little bit at a time. The mixture will get thick, but you should be able to stir it with a spoon.
When mixed, place balls about one inch in diameter on a cookie sheet. Flatten these balls with a fork, and bake at 350 degrees for about 14 minutes. The recipe will yield about 30 cookies.
As with the bread, the cookies were quite good, if I do say so myself. In fact, I might have stumbled upon a secret recipe. As I sampled these, it occurred to me that the taste and texture seemed very familiar. It finally dawned on me that they were identical to Grandma’s Peanut Butter Cookies, the type that is ubiquitous in office vending machines. That product lists somewhat different ingredients. In particular, it lists baking soda, but no yeast. But as far as I can tell, they are identical.
Substitutions should be possible with this recipe. I used vegetable oil because it was the cheapest alternative, and we have a lot of it. But butter or margarine would work as well or better. The original recipe I found called for brown sugar, but I used white sugar because we had more of it. Of course, if you have baking powder, you could use it instead of the sourdough starter.
The key thing about all of these recipes is that they use extremely simple ingredients, and ingredients that can be stored more or less forever. A fifty pound bag of flour will keep your family well fed for weeks, as long as you have a few other ingredients.
I hope I’m wrong, but I’m afraid there will be food shortages this summer. If you keep some basic ingredients on hand, you can perhaps avoid a life-threatening emergency for yourself, your family, and even your friends and neighbors.
Some links on this page are affiliate links, meaning that this site earns a small commission if you make a purchase after clicking on the link.


